Nothing brings people together like cooking over an open fire. Whether you’re enjoying a weekend camping trip, relaxing at the cabin, or gathering around a backyard fire pit, campfire cooking turns simple ingredients into memorable meals.
Open Fire Camping Cooking: Tips for Great Around the Campfire Meals
Years ago, I discovered just how much cooking over an open fire can transform a meal—and it happened completely by accident.
It was a cold December day, and we were working at a garden center’s Christmas tree lot. To keep warm, we had a fire going with scraps from trimmed Christmas trees. When dinnertime rolled around, we realized there wasn’t a microwave anywhere nearby, so we decided to see if we could reheat a couple slices of 7-Eleven pizza leftover from lunch over the fire.
Looking back, using resinous woods like fir, spruce, and pine wasn’t the ideal way to cook food. Those tend to produce more smoke and can leave food with a sooty, bitter flavor. I didn’t know any of that at the time. What I did know was that the pizza came off the fire hot, crispy, and somehow the most delicious pizza I’d ever eaten.
Ever since that day, I’ve looked for excuses to cook over an open fire. Whether it’s a simple grilled sandwich, a campfire breakfast, or just reheating leftovers, food cooked over glowing wood coals seems to taste better. Maybe it’s the subtle smoky flavor, maybe it’s the fresh air, or maybe it’s the satisfaction of preparing a meal with nothing more than a fire and a few simple cooking tools.
Whatever the reason, open-fire cooking turns even ordinary food into something memorable. And once you’ve made a meal over a campfire, you’ll probably find yourself looking for reasons to build another fire and cook outdoors again.
In this guide, you’ll learn:
- How to build a cooking campfire
- Essential open fire cooking tips
- Easy campfire recipes
- How to use popular campfire cooking tools
- Simple ways to make outdoor cooking safer and more enjoyable
Why Cook Over an Open Fire?
Cooking over a campfire isn’t just about preparing food—it’s part of the outdoor experience.
- Benefits include:
· Rich wood-fired flavor
· No electricity required
· Great family activity
· Simple cleanup
· Perfect for camping, RV trips, cabins, beaches, and backyard fire pits
The key to successful campfire cooking is creating a proper fire and using quality cookware that’s built specifically for open flames and hot coals.
How to Build a Safe and Effective Campfire for Cooking
A well-built cooking fire is different from a campfire made for warmth or ambiance. The goal is to create a steady bed of hot coals that provides even, controllable heat for cooking. Follow these steps to build a campfire that’s both safe and effective.
Choose the Right Location
- Always use an established fire ring or designated fire pit whenever possible.
- If you’re camping in a developed campground, follow all posted fire regulations and check for seasonal fire restrictions before lighting a fire.
- Choose a location that is:
· At least 15 feet away from tents, trees, shrubs, and other combustible materials
· On level ground
· Protected from strong winds when possible
· Free of low-hanging branches
- Never build a fire during burn bans or in areas where open fires are prohibited.
Gather Three Sizes of Firewood
- A successful campfire starts with properly sized fuel:
Tinder: Dry materials that ignite easily, such as wood shavings, dry grass, pine needles, birch bark, or commercial fire starters.
Kindling: Small sticks about the thickness of a pencil to a finger.
Firewood: Larger pieces of seasoned hardwood such as oak, maple, ash, or hickory.
- Avoid burning treated lumber, painted wood, plywood, driftwood from saltwater beaches, or trash, as these can release harmful chemicals.
Build the Fire
- Provide ample time: about 60 to 90 minutes before you plan to start cooking
- A simple teepee or log cabin shaped fire works well for cooking:
1. Place a small pile of tinder in the center of the fire ring.
2. Arrange kindling around the tinder, leaving space for airflow.
3. Add a few small pieces of firewood over the kindling.
4. Light the tinder from several sides.
5. Gradually add larger pieces of wood as the fire grows.
- Avoid piling on too much wood at once, which can smother the fire.
Let the Fire Burn Down
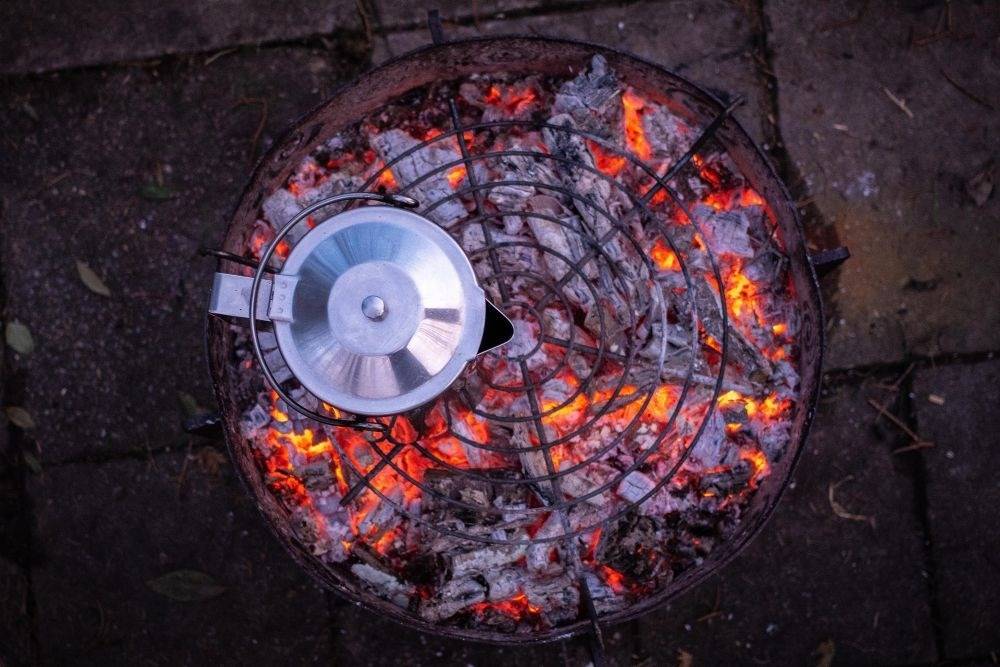
- The biggest mistake new campers make is cooking over large flames. Instead, allow the fire to burn for 30 to 45 minutes until most of the wood has turned into glowing red coals.
Hot coals provide:
· More even heat
· Better temperature control
· Less smoke
· Fewer flare-ups
· Reduced risk of burning food
- For longer cooking sessions, keep one side of the fire burning with fresh wood while using the mature coals on the other side for cooking. As new logs burn down, rake fresh coals into the cooking area as needed.
Arrange Your Cooking Area
- Spread the coals into an even layer using a fire poker or shovel.
- Position your cookware according to the type of food you’re preparing:
· Place a steel grilling grate several inches above the coals for burgers, steaks, vegetables, or foil packet meals.
· Hold a cast iron panini press or waffle maker over medium coals, rotating occasionally for even cooking.
· Use roasting forks for hot dogs, sausages, and marshmallows, turning food slowly rather than holding it directly in flames.
- If the fire is too hot, simply move cookware farther from the center of the coals.
Control the Heat
Unlike a kitchen stove, a campfire doesn’t have temperature knobs—but you can still control the heat.
- Lower heat by:
· Spreading coals farther apart
· Raising the cooking grate
· Moving cookware to the edge of the coal bed
- Increase heat by:
· Concentrating coals together
· Lowering the cooking surface
· Adding a few fresh coals from the active fire
- Cooking over medium heat usually produces the best results.
Practice Campfire Safety
Keep safety your top priority whenever you’re cooking outdoors.
- Always:
· Keep a bucket of water, sand, or a fire extinguisher nearby.
· Supervise children and pets around the fire.
· Wear heat-resistant gloves when handling hot cookware.
· Use long-handled cooking tools to keep hands away from the heat.
- Never leave a campfire unattended, even for a few minutes.
Extinguish the Fire Completely
- When you’re finished cooking:
1. Stop adding wood to the fire.
2. Allow remaining logs to burn down to ash.
3. Pour water over the fire and coals.
4. Stir the ashes with a shovel or stick.
5. Add more water until everything is cool to the touch.
- Never leave a fire until the ashes, coals, and surrounding fire ring are completely cold.
Pro Tips for Campfire Cooking
Use the Proper Type of Wood
- Use dry, seasoned hardwoods for longer-lasting, hotter coals.
- Using damp wood makes the fire harder to start, burns off energy reducing water to steam instead of making heat, and produces unhealthy smoke
Cook Over Coals—Not Flames
Allow your fire to burn for 30–45 minutes until it produces a bed of glowing coals.
- Coals vs. flames provide:
· More even heat
· Better temperature control
· Less burning
- Avoid cooking directly in flames whenever possible.
How Hot is My Fire?
Low: 6 seconds or more
Medium: 4 to 5 seconds
High: 2 to 3 seconds
Keep a "Backup" Fire
- Keep a separate pile of burning wood to replenish cooking coals for meals with long cooking times
Preheat Cast Iron
- Warm cast iron before placing on higher heat or adding food.
This helps to:
· Prevent warping of the pan
· Prevent sticking
· Improve browning
· Cook more evenly
Oil Before Cooking
- A light coating of cooking oil helps food release easily.
- In general, when cooking over an open fire use oil with a higher smoke point, such as corn, canoloa, sunflower, or avocado.
- Avoid olive oil and butter, as intense fluctuations in heat can casue them to burn and become bitter.
- For the flavor of butter without the danger of burning, try ghee. This shelf-stable product has a high smoke point and requires no refrigeration, so is great for the gourmet camper.
Rotate often
Campfire heat isn’t perfectly even.
Rotate cookware every few minutes for consistent cooking
Never leave unattended.
Bring Simple Ingredients
- Pre-measure ingredients before leaving home.
- Store them in reusable containers or resealable bags to reduce campsite prep time.
Keep Safety First
Always:
· Wear heat-resistant gloves
· Keep water nearby
· Use long-handled cooking tools
· Never leave a campfire unattended
Choosing the Right Cookware for Open Fire Cooking
Not all cookware performs the same over an open fire. Campfire cooking exposes pots and pans to uneven heat, hot coals, and direct flames, so choosing the right material can make cooking easier and help your cookware last longer.
- Cast iron is a longtime favorite because its thick construction absorbs and retains heat exceptionally well, making it ideal for cooking over glowing coals where temperatures naturally fluctuate. Once heated, cast iron stays hot, helping foods cook evenly and develop a beautifully browned exterior. It's perfect for everything from grilled sandwiches and waffles to steaks, burgers, breakfast favorites, and desserts.
With proper care, cast iron cookware can last for decades. Simply clean it after use, dry it thoroughly, and apply a light coat of cooking oil to maintain its protective seasoning.
- Carbon steel is another excellent option, offering similar durability with less weight and faster heating.
- Stainless steel is tough, easy to maintain, and works well for boiling water, soups, and one-pot meals, though it doesn't distribute heat as evenly as cast iron or carbon steel. Look for food grade 304 (18/8) and above stainless steel--avoid budget options made with lower grade material.
- Aluminum is lightweight and popular with backpackers, but thin aluminum cookware can develop hot spots over a campfire and may warp if exposed to very high heat.
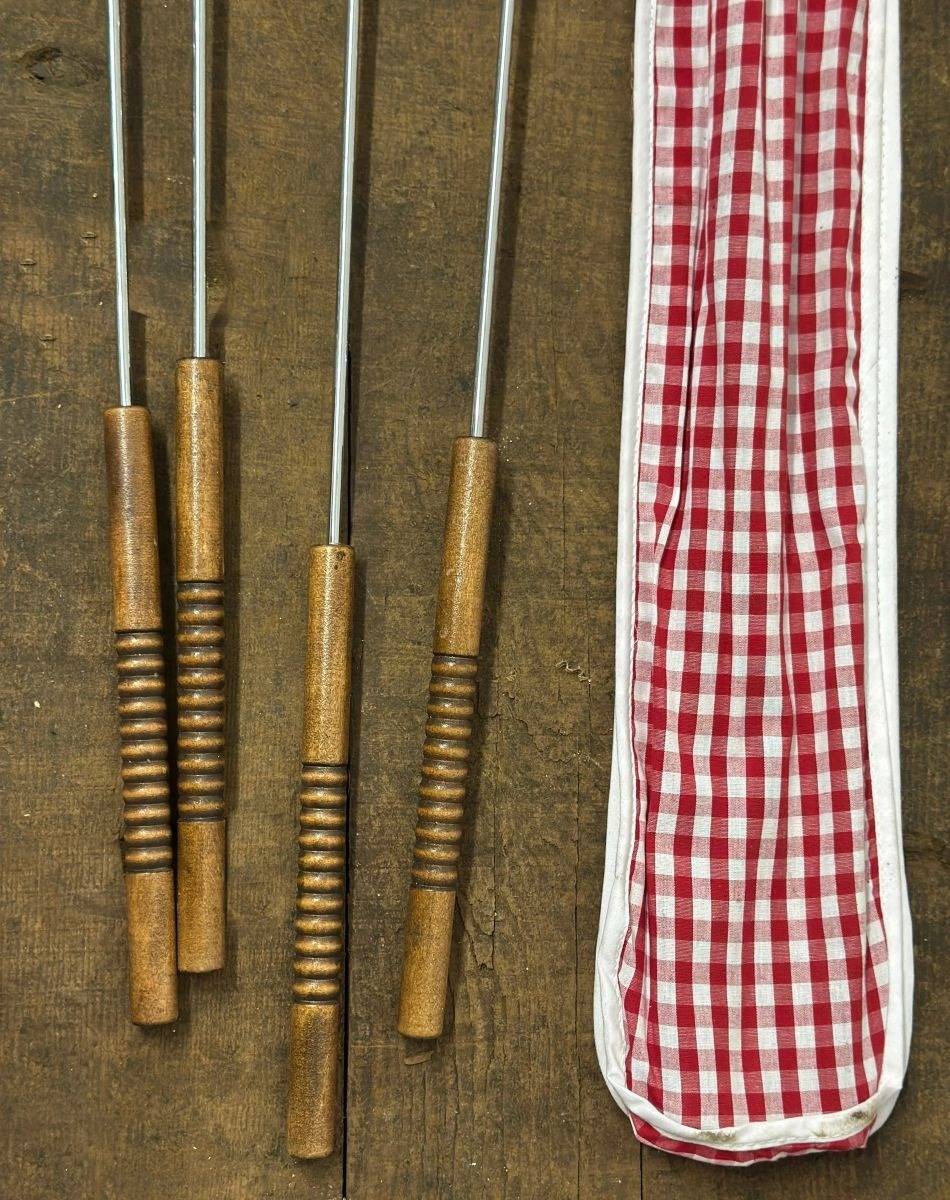
- Long-handled cooking tools allow you to safely prepare food while keeping your hands comfortably away from the heat. Long-handled roasting forks, sandwich irons, and specialty cookers make it easy to roast marshmallows, cook hot dogs and sausages, toast sandwiches, or prepare campfire desserts without getting too close to the fire.
- Avoid using cookware with nonstick coatings or plastic, rubber, or wooden handles directly over an open fire, as high temperatures can damage these materials.
Whatever cookware you choose, look for sturdy construction, heat-resistant handles, and designs intended for outdoor cooking. With the right equipment and a good bed of glowing coals, cooking over a campfire is an enjoyable way to prepare everything from simple snacks to hearty meals.
Convenient Campfire Cooking Equipment
Whether you’re making breakfast over glowing coals, grilling lunch by the lake, or ending the evening with classic s’mores, our campfire cooking tools help you prepare delicious meals wherever your adventures take you.
From cast iron panini presses and waffle makers to roasting forks, hot dog cookers, s’mores makers, and sturdy grilling grates, you’ll have everything you need to create memorable meals around the fire.
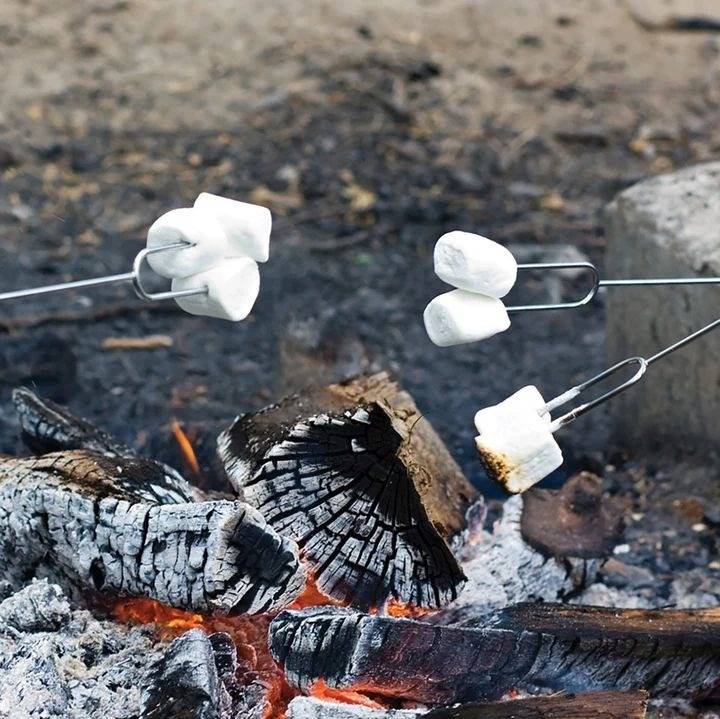
Long roasting forks are among the most versatile campfire tools available, and much safer than foraged sticks.
Use them for:
· Marshmallows
· Hot dogs
· Sausages
· Meatballs
· Corn dogs
· Pineapple chunks
· Vegetables
The long handles help keep hands safely away from the fire while allowing everyone to cook their own food.
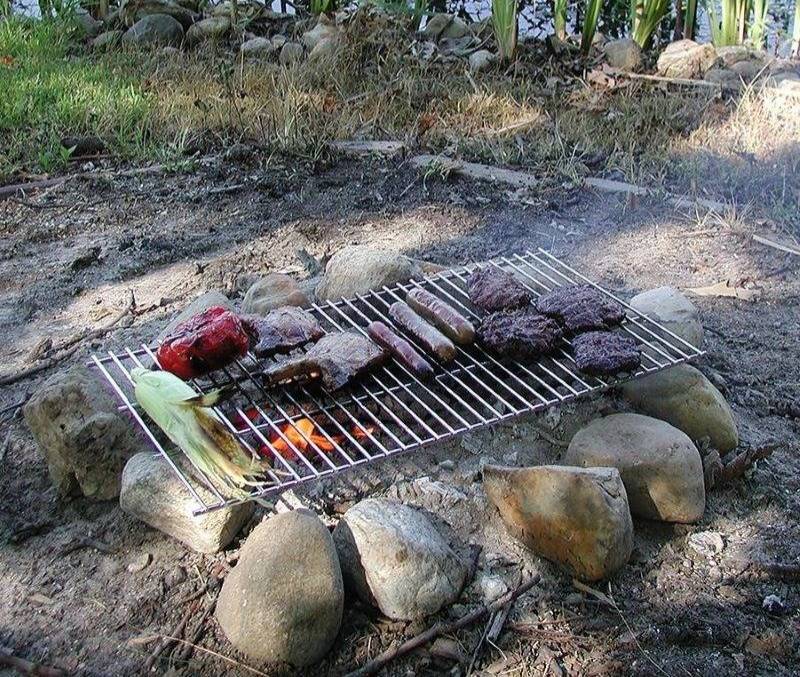
Transform almost any fire ring or fire pit into an outdoor grill. Simply place the steel grilling grate over glowing coals and cook almost anything.
- Lower heat: 8 to 12 inches above coals; for slow roasting, vegetables and fish
Medium heat: 6 to 8 inches over the coals; for chicken and thicker cuts of meat that need time to cook through
High heat (for searing proteins): 4 to 6 inches above; for steaks & burgers
Great Foods to Grill over a Fire
· Steaks
· Burgers
· Chicken
· Pork chops
· Fish
· Corn
· Bell peppers
· Potatoes
· Foil packet meals
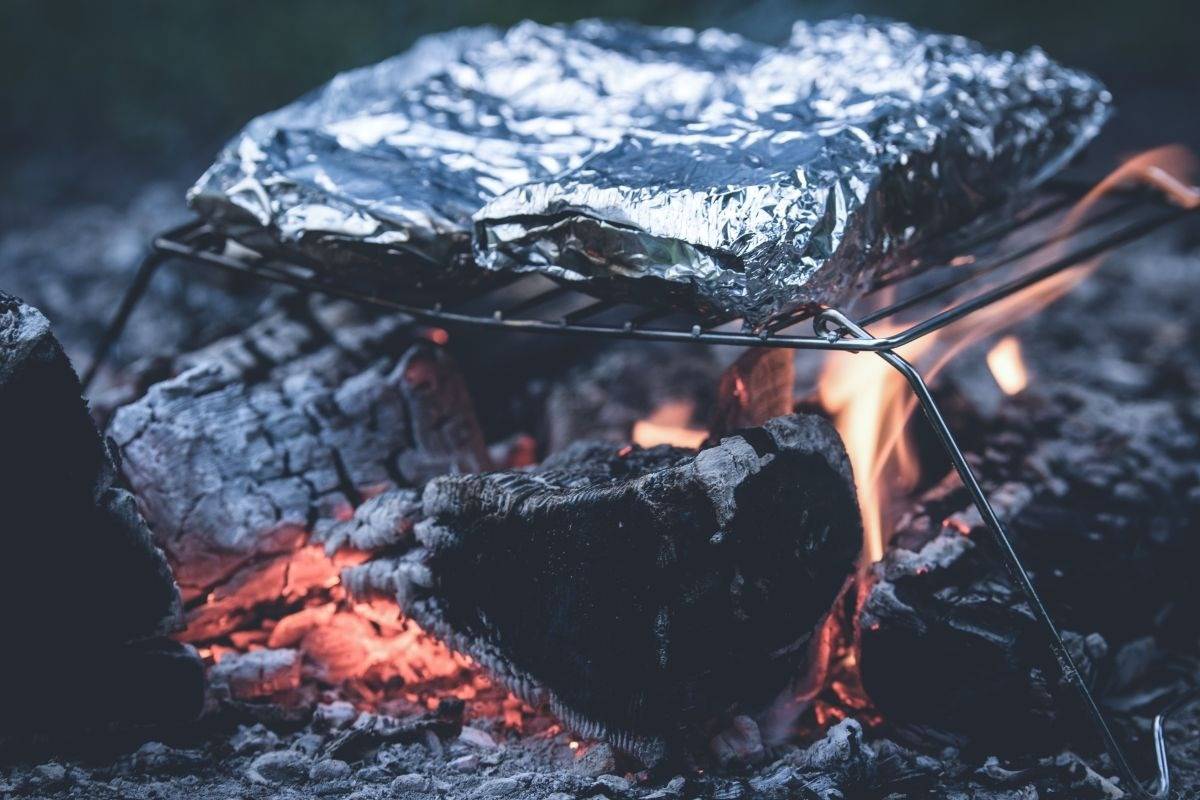
Campfire Foil Packet Dinner
- Ingredients
· Cubed Potatoes
· Smoked sausage
· Cubed bell peppers
· Sliced onion
· Olive oil
· Garlic powder
· Salt
· Pepper
- Wrap tightly in heavy-duty foil.
- Cook on the grilling grate over medium coals for 20–30 minutes, turning occasionally.
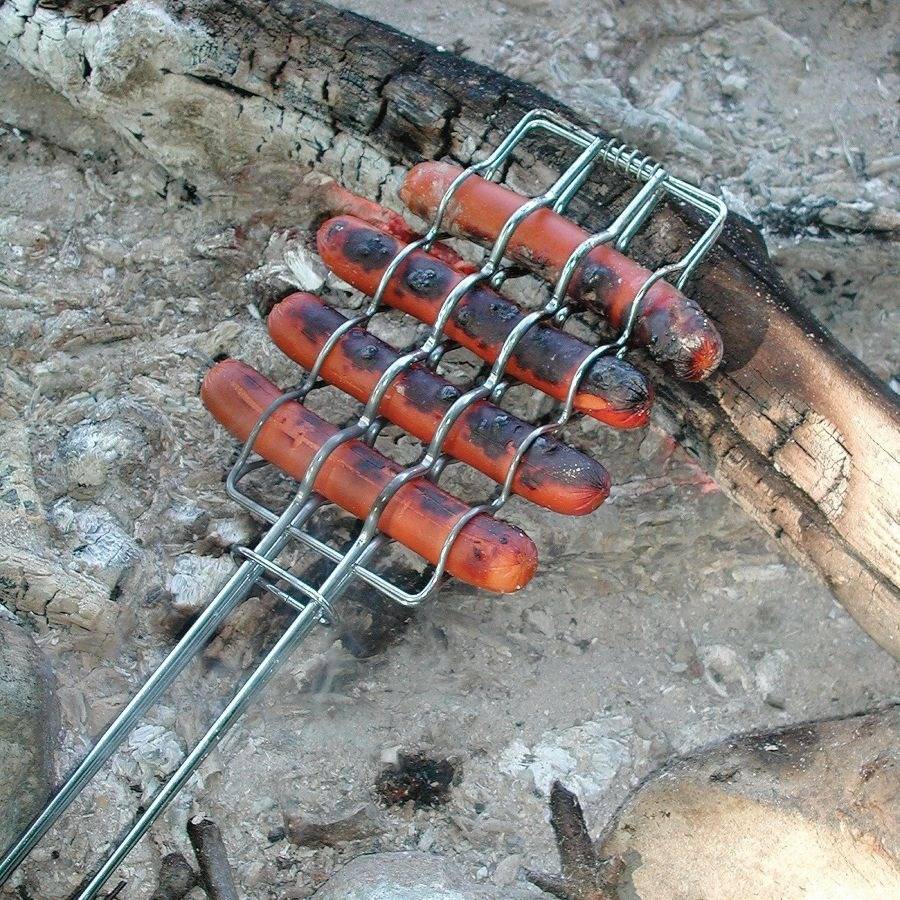
Cooking for families, especially those with younger children, is easier with the 4-Up Hotdog Roaster. Instead of cooking one hot dog at a time, roast four evenly over the campfire. It also allows cooking without piercing the meat, keeping the meat juicier.
It also works well for:
· Bratwurst
· Italian sausage
· Polish sausage
· Smoked sausage
· Veggie dogs
Campfire Chili Dogs
Top roasted hot dogs with chili, shredded cheddar, diced onions, Jalapeños, and mustard and serve with potato chips or campfire baked beans.
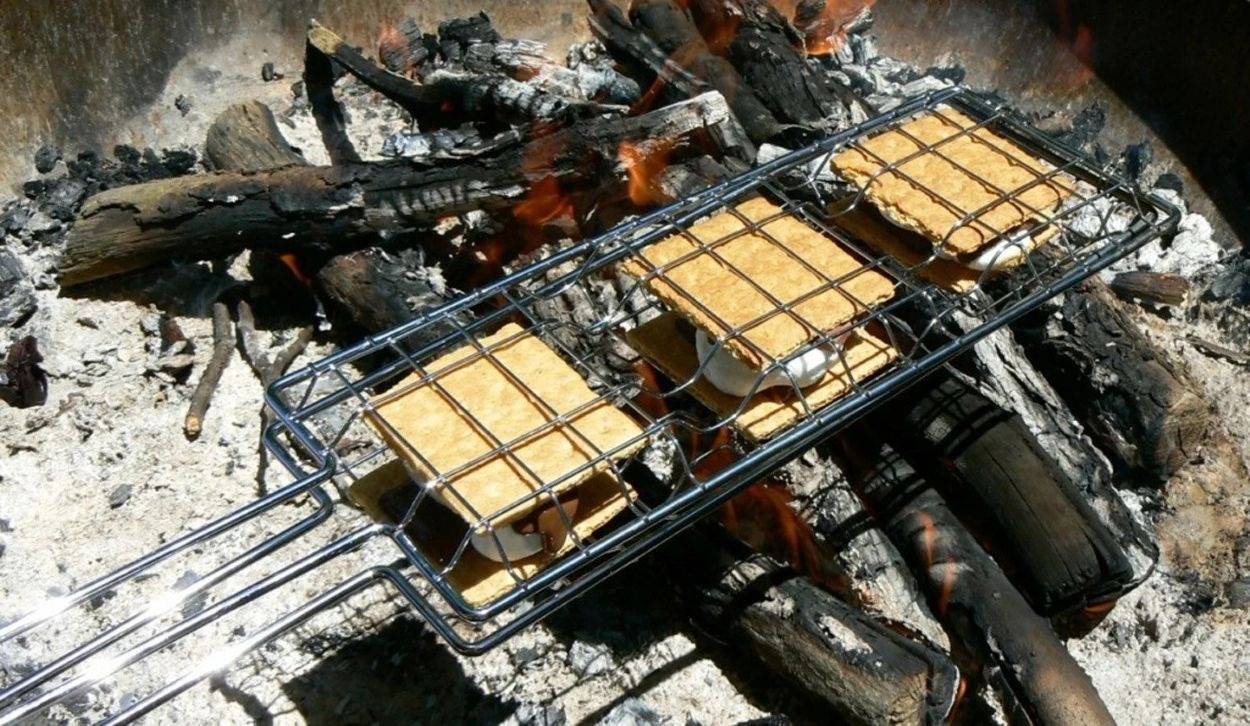
No camping trip feels complete without gooey s’mores, and these are the easiest ever! The S’mores Maker helps evenly toast marshmallows without burning while melting chocolate for consistently delicious desserts.
Just assemble your s'mores "sandwich" and place in the cavities in the grid--up to three simultaneously. Hold above the coals until the graham cracker is lightly toasted, the marshmallow begins to soften and the chocolate is melted. Then enjoy and do it again!
Beyond Traditional S’mores
Try different candy bars or add fruit:
· Peanut butter cup s’mores
· Caramel chocolate s’mores
· Cookies & cream s’mores
· Double chocolate s'mores: use chocolate graham crackers
· Black & White s'mores: use chocolate graham crackers and white chocolate
· Banana Nutella s’mores: wrap in foil first, or use hazelnut chocolate for Nutella flavor
· Strawberry chocolate s’mores

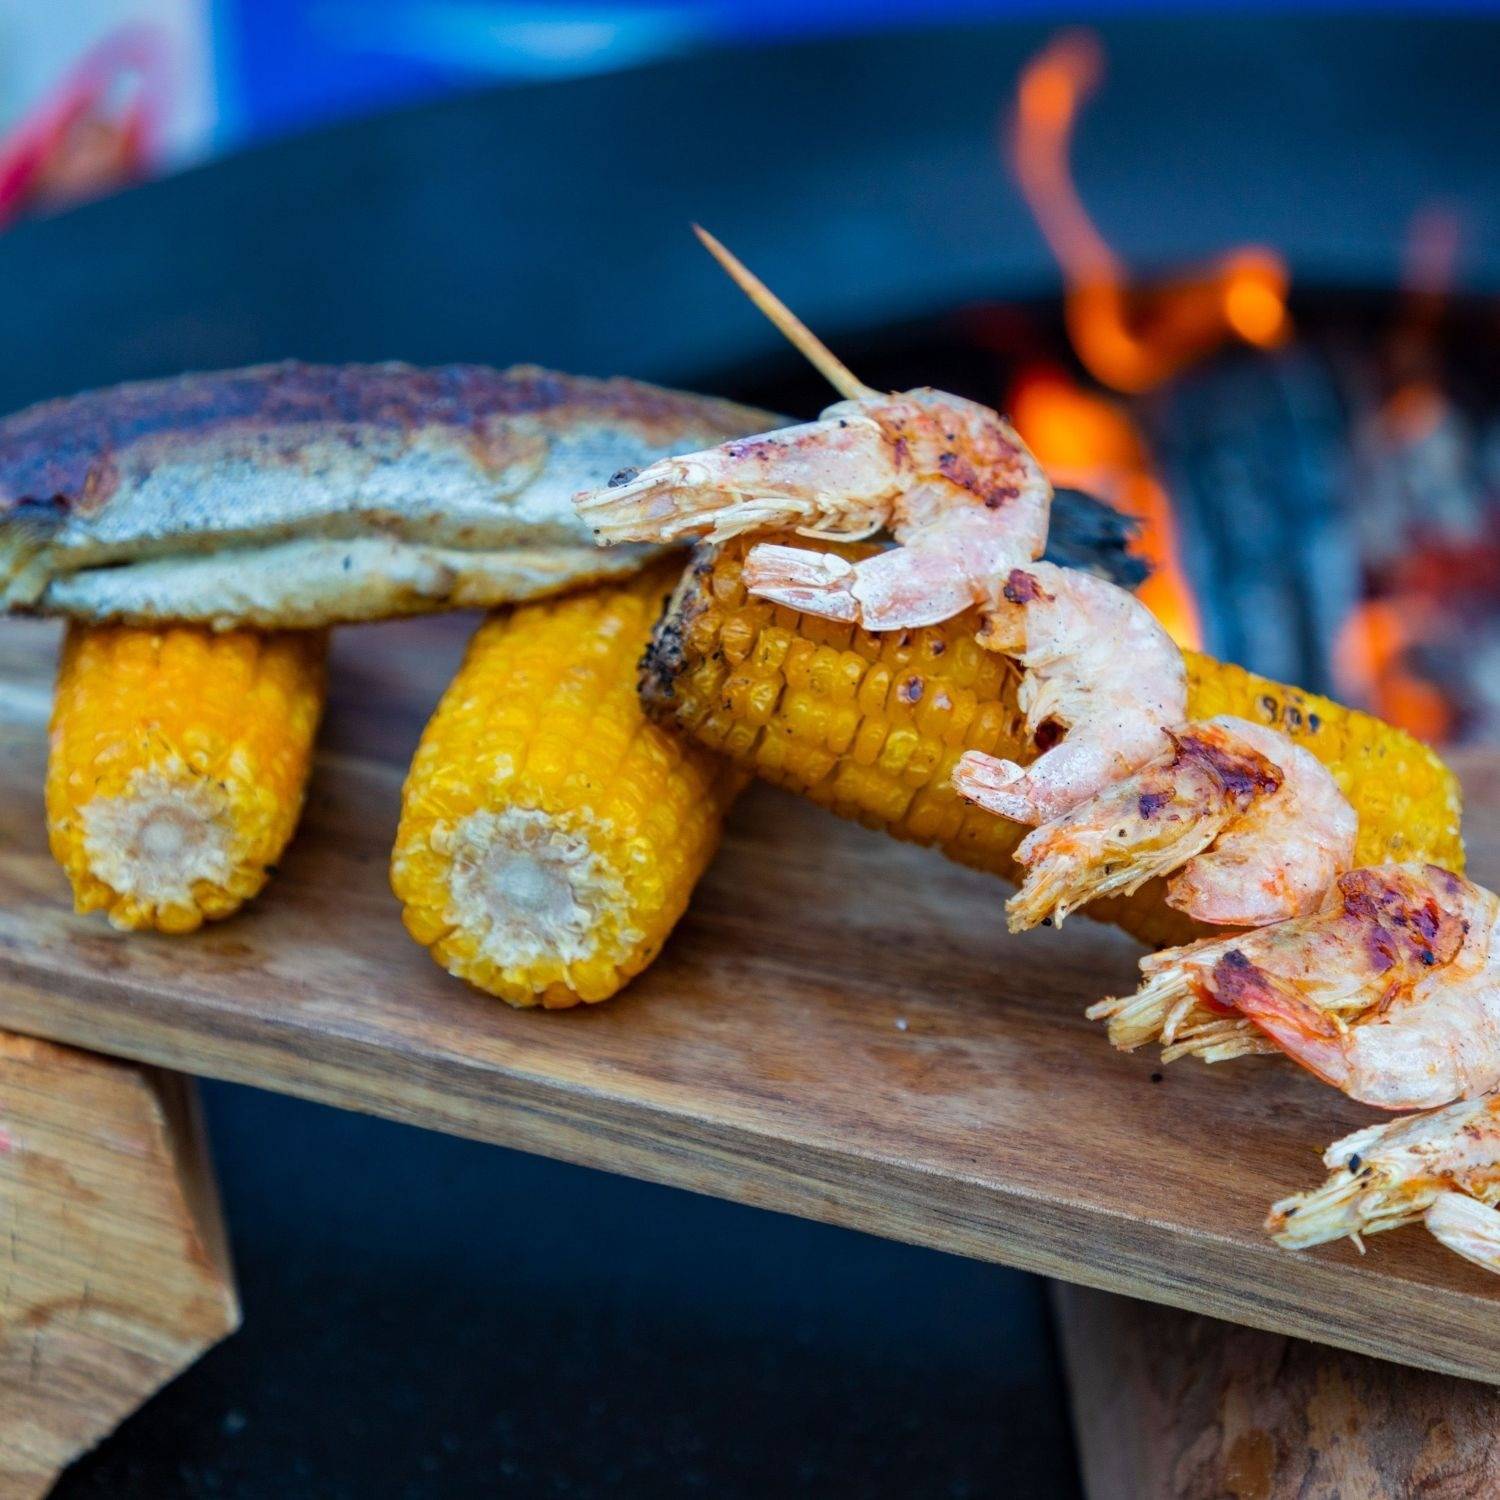
Below: Entire meals can be made over a campfire--no need to limit yourself to beans, burgers, and hot dogs!

Below: Make sure your materials are dry to prevent excessive smoke. Exhaled air contains about 16% oxygen, so blowing gently at the base of flames can aid ignition, and also remove the buildup of ash from established fires to keep it burning longer.

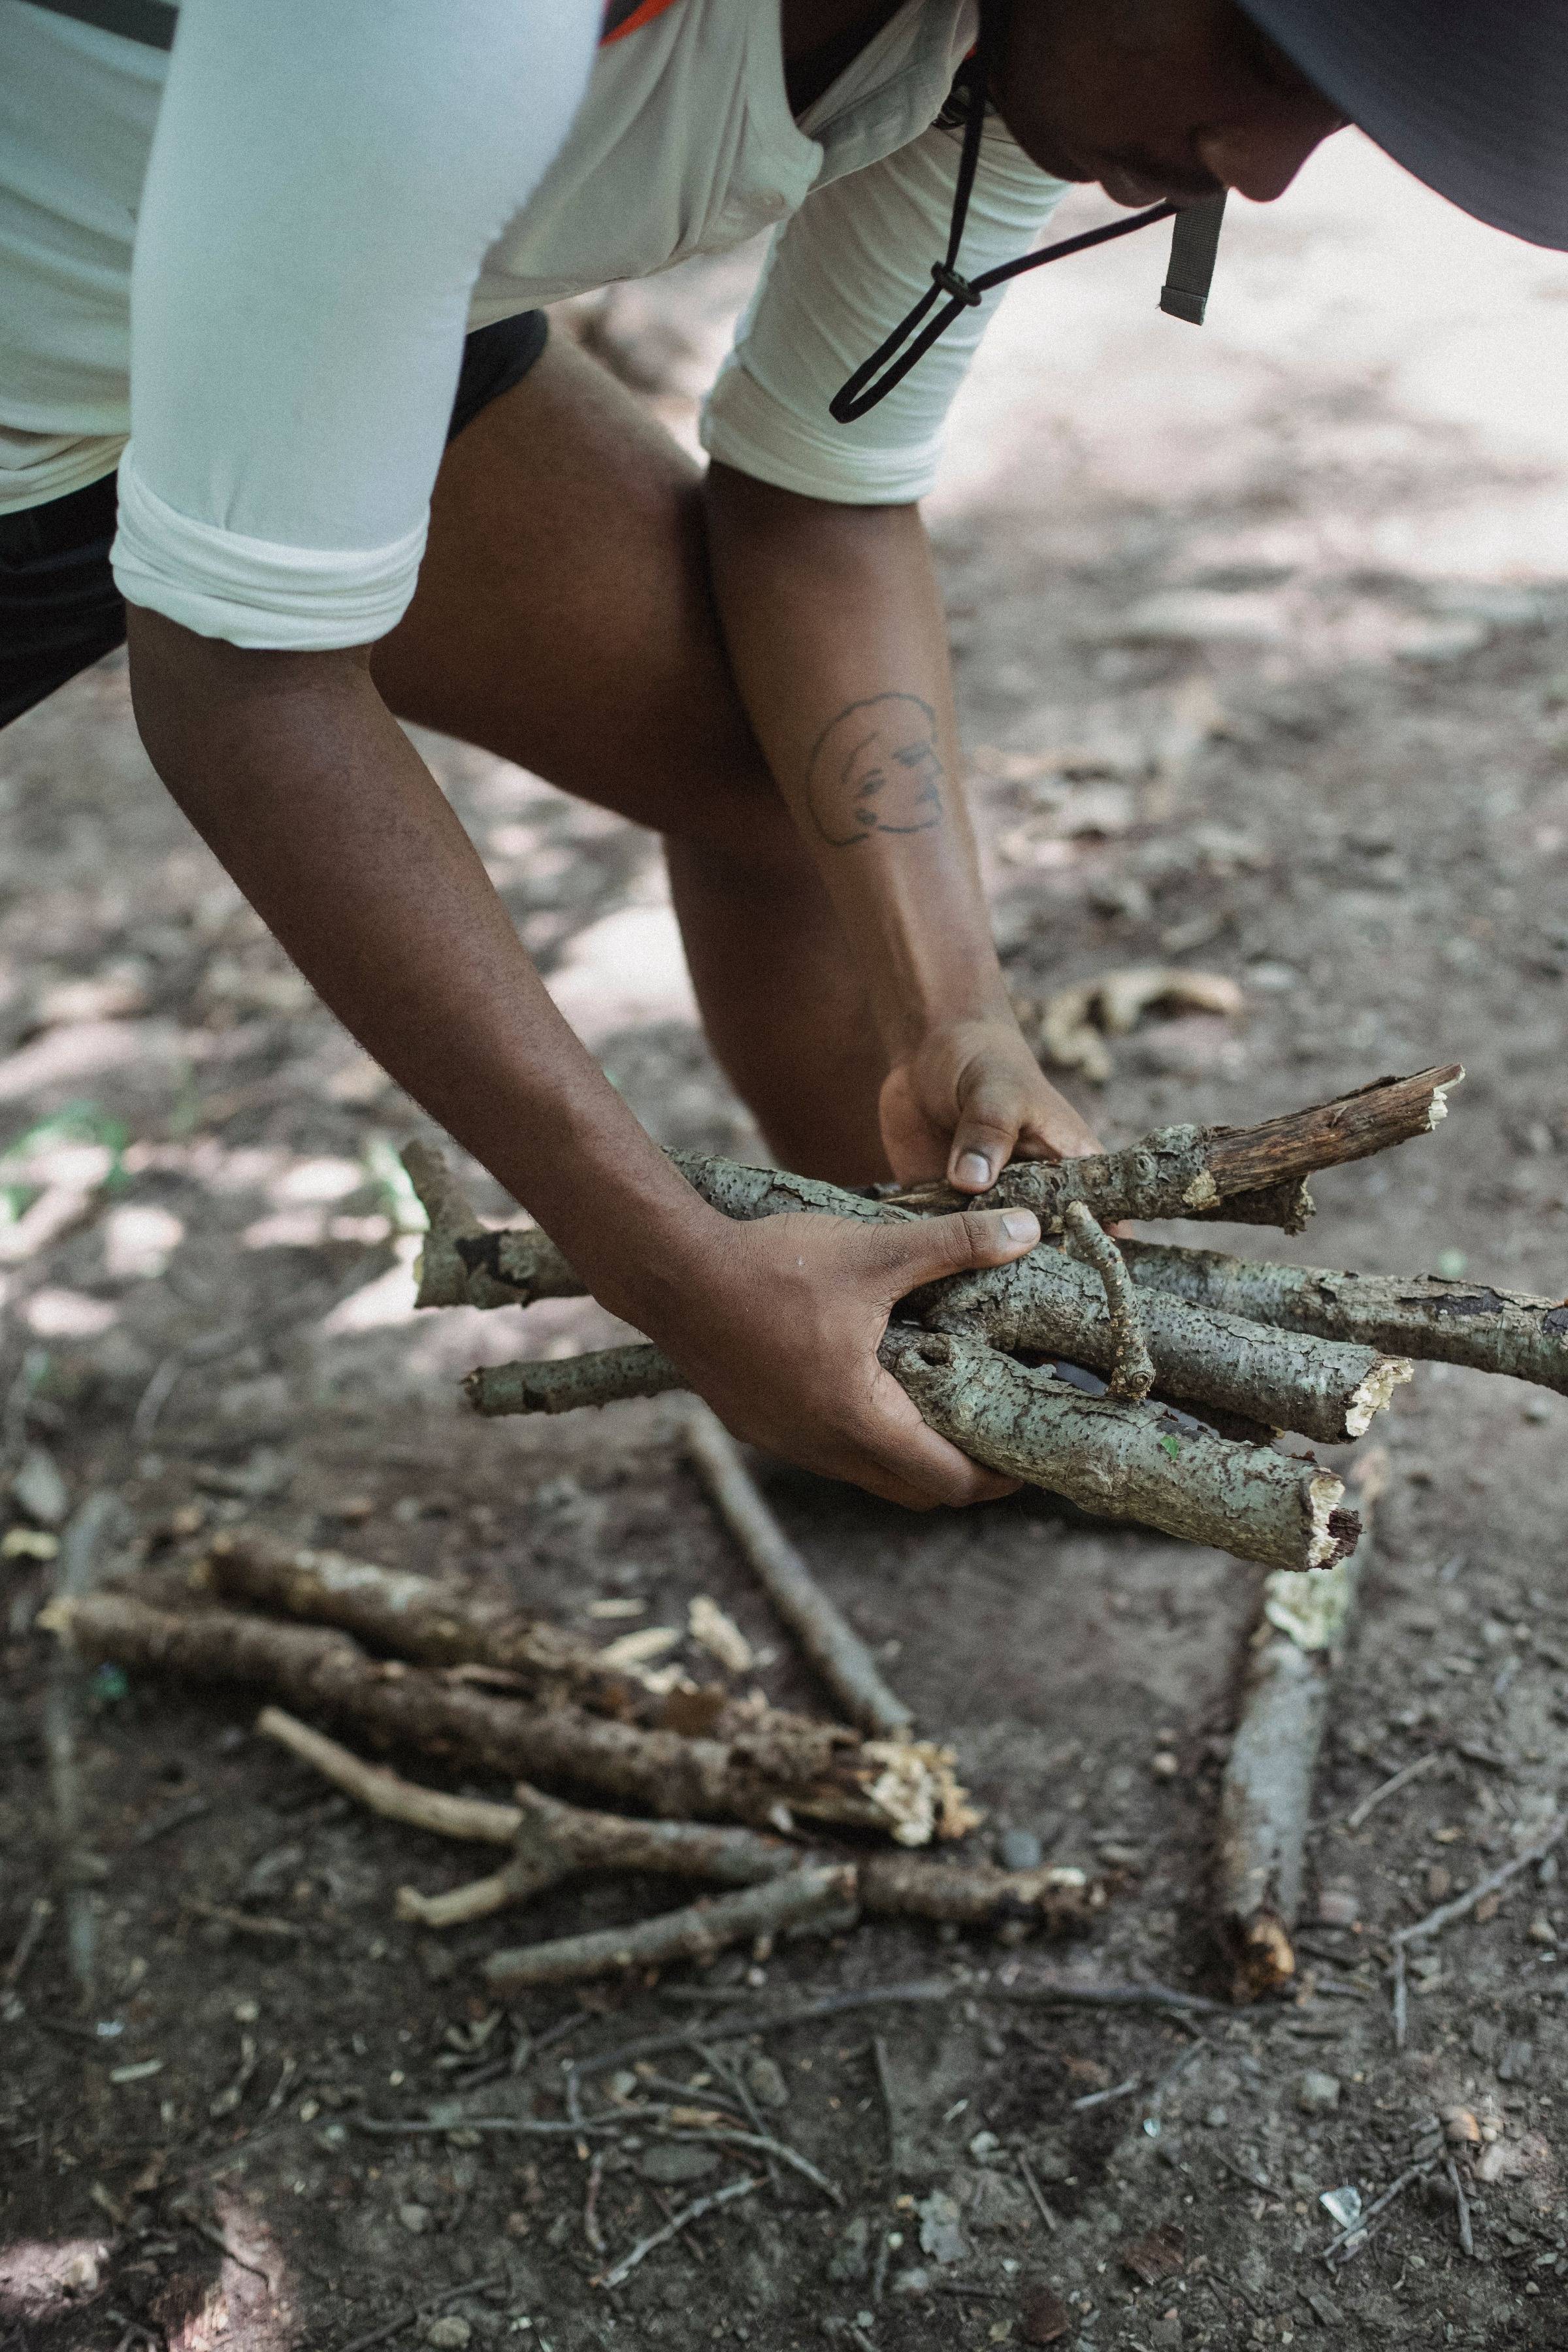
Below: Collect your tinder, kindling, and firewood ahead of time, and keep extra nearby to reinvigorate your fire as necessary.
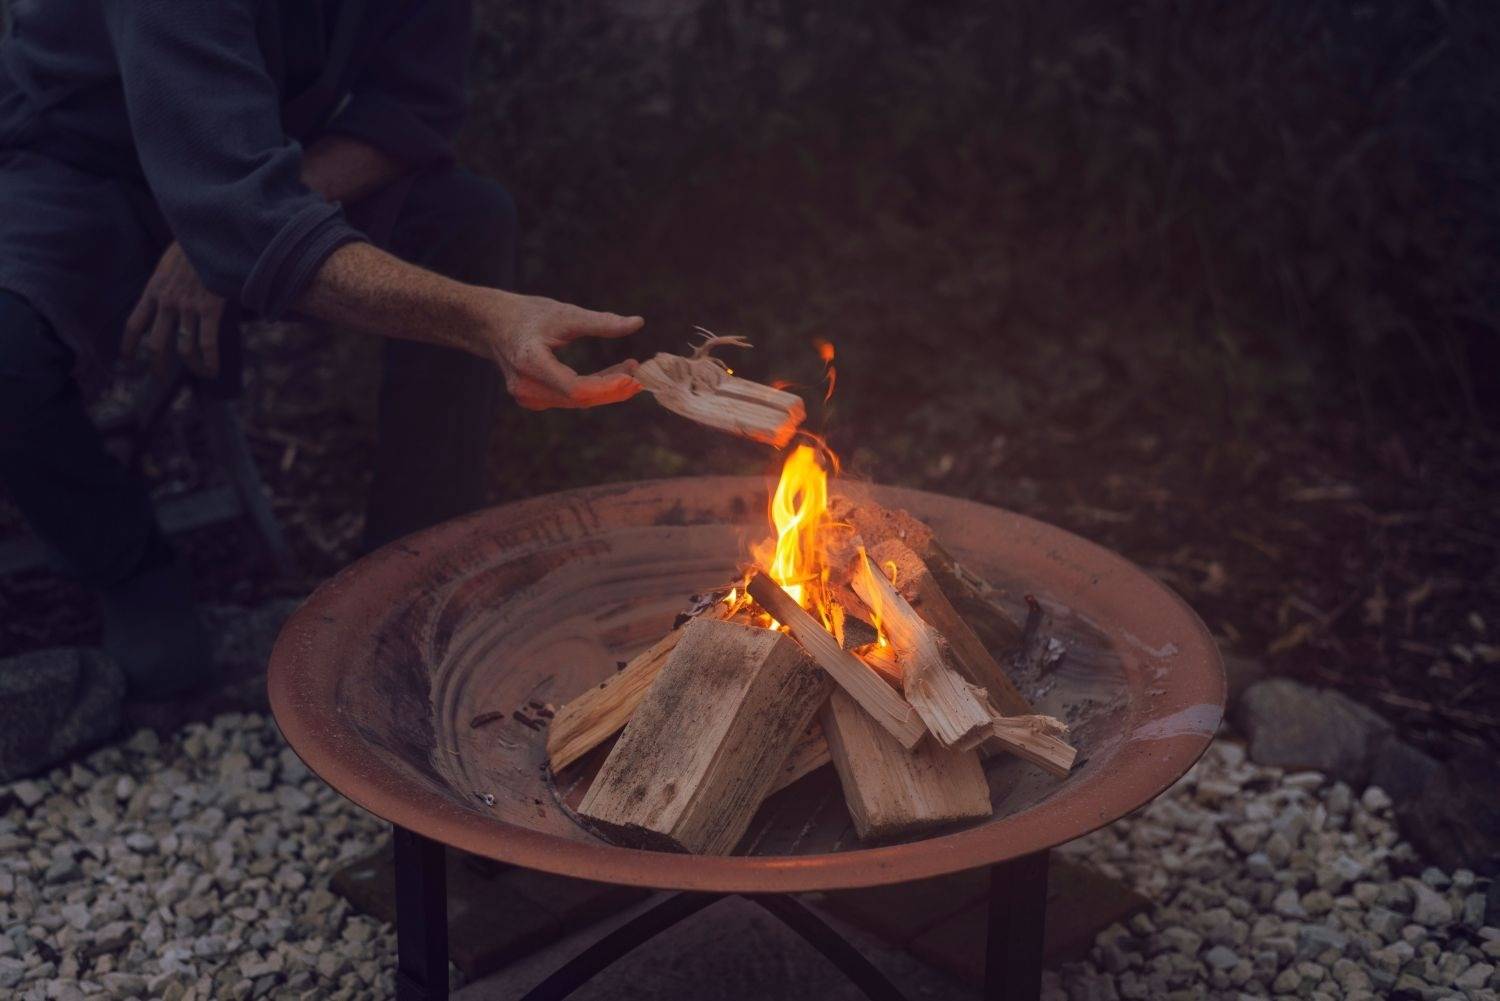
Below: Whether you're building a fire at your campsite or in your backyard firepit, a "teepee" arrangement of wood allows for good air circulation to keep your fire burning. Continue to place pieces of wood in the same shape and don't pack tightly or pile on too much at once.
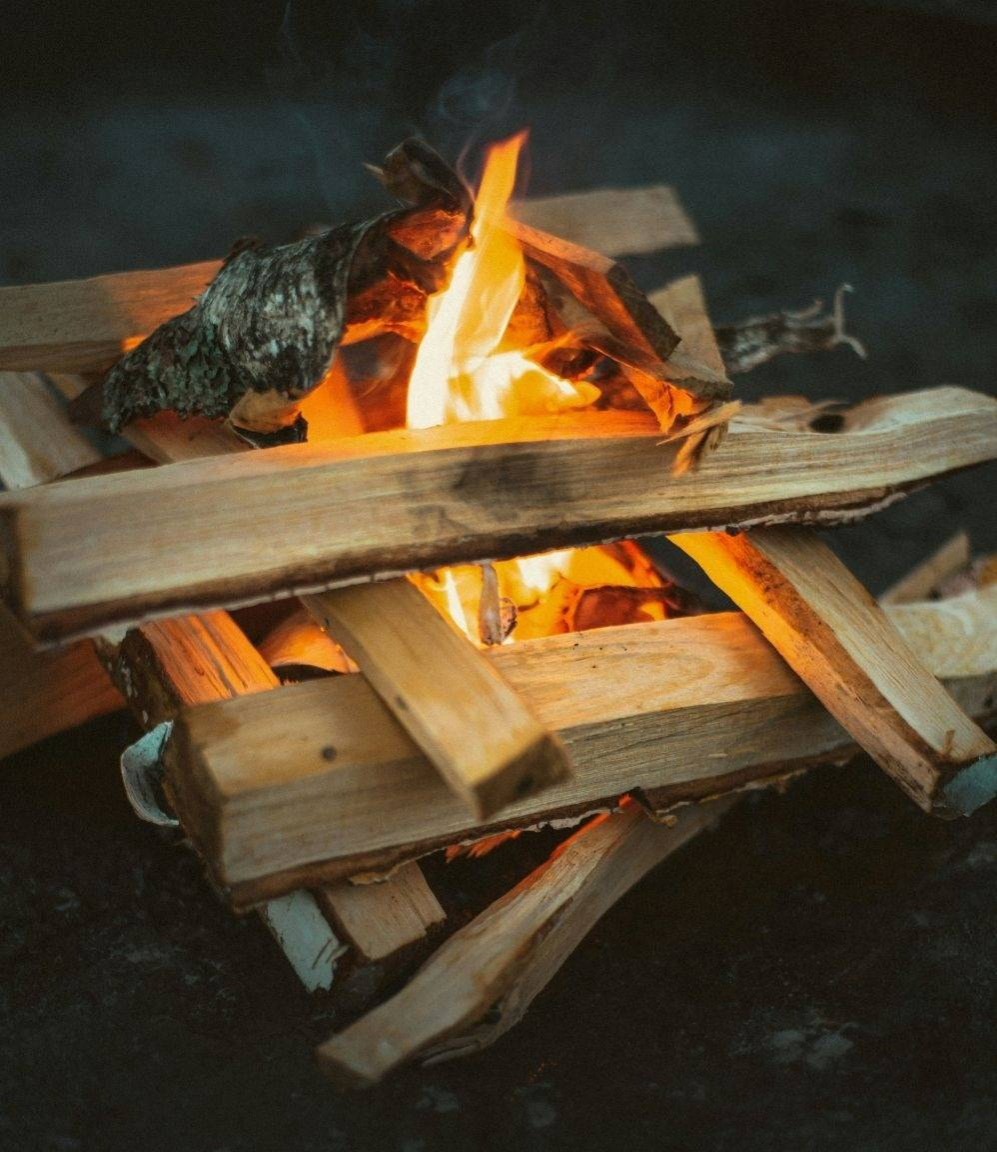
Below: Example of a log cabin shaped fire, which allows plenty of air circulation for good burning.
Below: Using two fires allows fresh coals to be easily raked or moved into your cooking fire, especially helpful for meals with longer cooking times.
Below: This is ideal: no flames, just glowing hot coals
Below: A "back-up" fire near your main cooking fire allows for replenishment of hot coals when needed
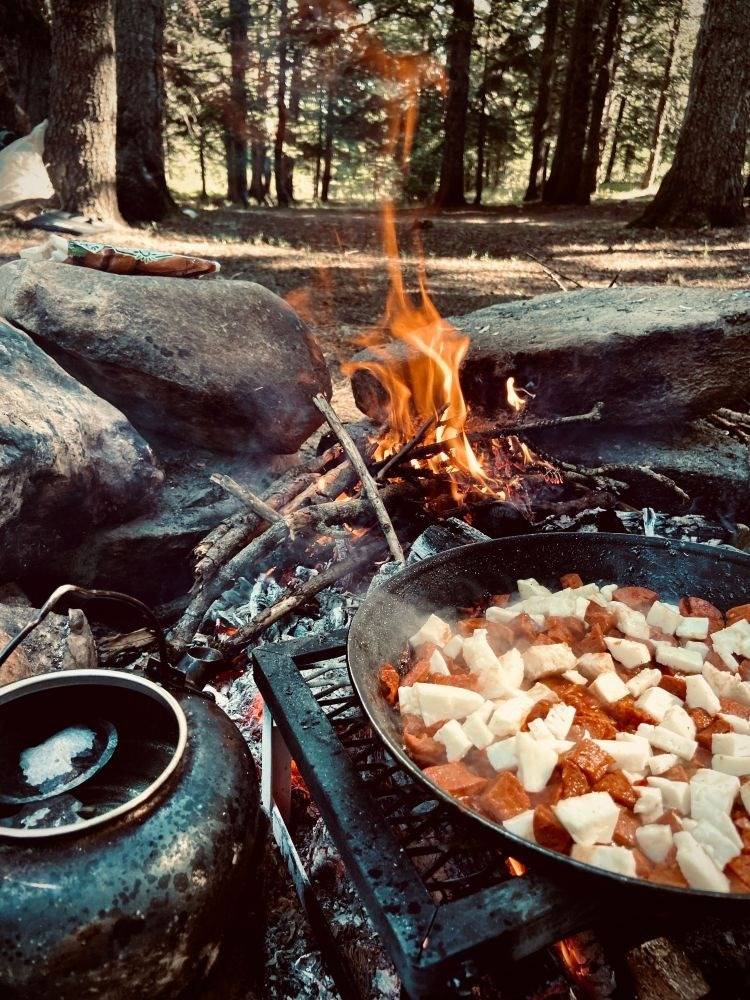
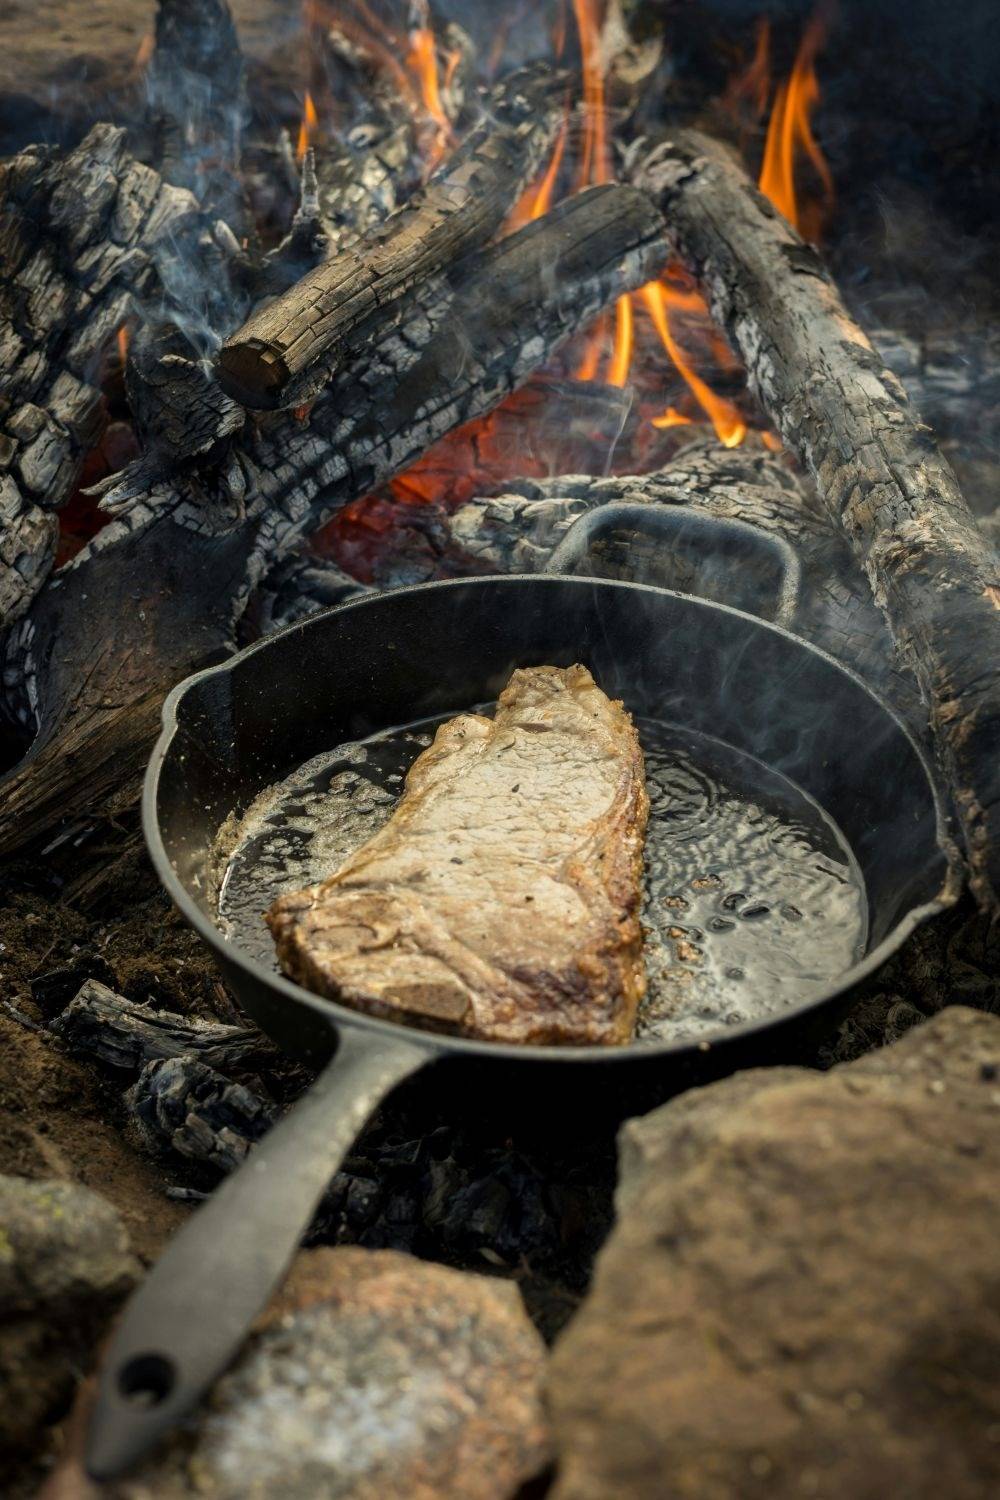
Below: Cast iron cookware is excellent for cooking over an open fire, as it heats evenly and retains heat longer.

Below: Long-handled metal cooking tools should have heat proof handles. A carry bag is a convenient extra!
Below: Foil packet meals are easily prepared over a campfire.
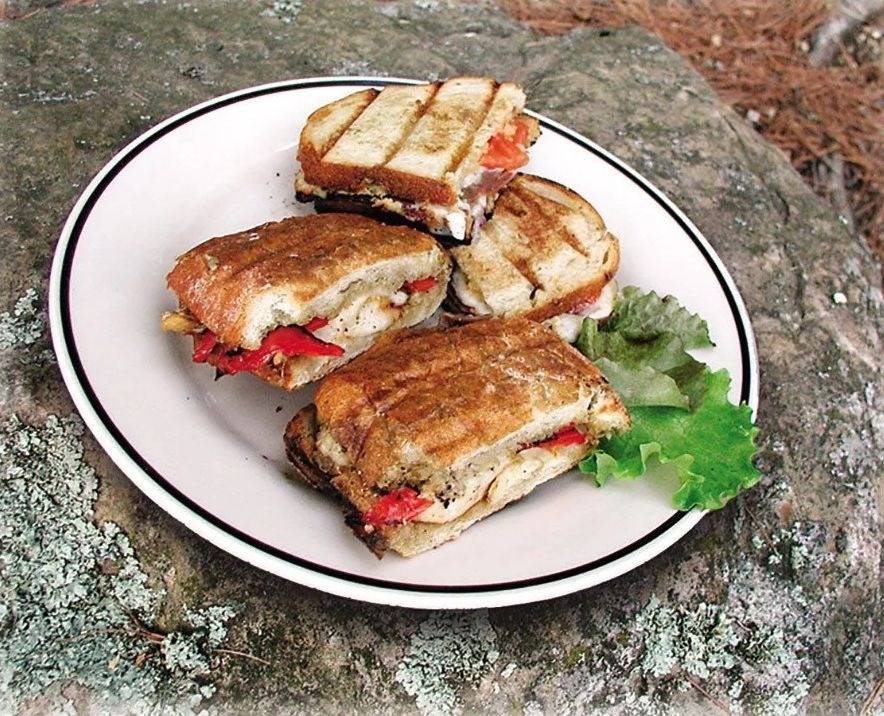
Essentially a specialized pie iron. Invented in the 1920s as an indoor appliance, pie irons became popular in the mid-twentieth century for campfire cooking, with the resulting food product variably called 'mountain pie,' 'pudgy pie,' or campfire pie' (or 'jaffle' in Australia). This versatile tool creates an easily portable sealed pocket of bread or other dough around a sweet or savory filling. The panini press makes perfectly toasted sandwiches with crispy bread and melted fillings, as well as traditional campfire pies. Cast iron distributes heat evenly while creating beautiful grill marks. Also great for reheating baked goods, pizza, or whatever fits inside.
Perfect For
· Grilled cheese
· Ham and Swiss
· Turkey paninis
· Pizza sandwiches
· Reubens
· Breakfast sandwiches
· Apple cheddar melts
· Peanut butter & banana sandwiches
Campfire Pizza Panini Recipe
- Ingredients
· Italian bread
· Pizza sauce
· Mozzarella
· Pepperoni
· Butter or ghee
- Butter the outside of each slice.
- Fill with sauce, cheese, and pepperoni.
- Close the panini press and cook over hot coals for approximately 4–6 minutes per side until golden brown.
Wake everyone up with homemade waffles cooked over the fire. Cast iron holds heat beautifully, creating crisp exteriors and fluffy interiors.
Great Waffle Flavors
· Classic waffles
· Cinnamon waffles
· Blueberry waffles
· Cornbread waffles
· Savory cheddar waffles
· Brownie waffles
Easy Campfire Waffles
- Lightly oil the waffle iron after preheating.
- Pour in prepared waffle batter.
- Cook over medium coals for 3–4 minutes per side, rotating occasionally until golden brown.
- Top with your choice of:
· Maple syrup
· Fresh berries
· Powdered sugar
· Peanut butter
· Nutella
Easy Campfire Meal Ideas
· Campfire waffles
· Breakfast paninis
· Sausage sandwiches
Lunch
· Grilled cheese
· Pizza paninis
· Hot dogs
Dinner
· Burgers
· Foil packet meals
· Bratwurst
· Grilled vegetables
Dessert
· S’mores
· Brownie waffles
· Toasted marshmallows
· Grilled fruit
Whether you're making a hearty breakfast on the trail, grilling a rustic picnic lunch on your wood-burning backyard fire pit, or capping a day's outdoor fun with toasted marshmallows and s'mores, knowing how to build a proper fire combined with the right cookware allows you to fully enjoy the primal, self-reliant experience and rich flavors of campfire cooking.
FAQ
- Can you cook directly over a campfire?
Yes, but cooking over glowing coals rather than active flames provides better temperature control and more even results.
What foods are easiest to cook while camping?
Hot dogs, sandwiches, sausages, burgers, foil packet meals, roasted potatoes, baked beans, mountain pies, waffles, and s’mores are among the easiest and most popular campfire foods.
- What is the best cookware for open fire camping?
Cast iron is one of the best choices because it distributes heat evenly, retains heat well, and withstands high temperatures. Stainless steel may be preferred on hiking trips where weight is an issue. Steel grilling grates and long roasting forks also make campfire cooking easier and safer.
- How do you keep food from sticking to cast iron?
Cast iron cookware should always be preseasoned, whether using at home or when camping. Preheat the preseasoned cookware and lightly coat it with a high smoke point oil or ghee before adding food.
You may also like