Spring-blooming bulbs bring some of the first color to the garden after a long winter. Tulips, daffodils, crocuses, hyacinths, grape hyacinths, and other spring favorites can create a spectacular display in containers, even when garden space is limited. A large planter by the front door, a grouping of pots on a patio, or a container tucked into a sunny garden corner can become a colorful focal point just as the rest of the landscape begins to wake up.
How to Plant and Grow Spring-Blooming Bulbs in Containers
One of the best things about growing spring bulbs in containers is the opportunity to experiment with color, height, and bloom time. Plant a single variety for a coordinated display, combine several kinds of bulbs for a succession of flowers, or layer bulbs at different depths to create a fuller, longer-lasting show.
The key is to plan ahead. Most spring-blooming bulbs need a period of winter chilling to flower properly, and they must be planted in fall, before the ground freezes. With the right container, well-drained potting mix, and a little advance planning, you can enjoy a beautiful spring display in almost any outdoor space.
When to Plant Spring-Blooming Bulbs in Containers
Spring-blooming bulbs are generally planted in fall, after the weather cools but while the soil is still workable. The goal is to give bulbs time to develop roots before winter without encouraging excessive top growth.
The ideal planting window depends on your climate:
Cold-winter climates (USDA Zones 3–5): Plant bulbs in early to mid-fall, typically September through October, before the potting mix freezes.
Moderate-winter climates (Zones 6–7): Plant from mid-fall into late fall, often October through November.
Milder-winter climates (Zones 8–9): Plant later in fall or early winter, depending on local temperatures and the bulb variety. Many tulips and other bulbs need supplemental chilling in these regions.
Warm-winter climates (Zones 10 and warmer): Many traditional spring bulbs will not receive enough natural winter chill outdoors. Choose varieties suited to mild climates or purchase pre-chilled bulbs and follow the supplier's directions.
These are general guidelines rather than fixed dates. Local weather, soil temperatures, bulb varieties, and the expected arrival of freezing weather all affect timing.
A note about container growing:
Bulbs in pots are more exposed to temperature extremes and fluctuations than bulbs planted in the ground. In cold regions, potting mix can freeze solid with the soil temperature well below that to which bulbs would normally be exposed, putting bulbs at greater risk than they would face in garden soil. Plan for winter protection when choosing both your container and its location.
Choosing the Right Container
Almost any container can be used for spring bulbs, provided it has adequate drainage and enough room for the bulbs and their roots. The container's size, material, and location will also affect how well the bulbs survive winter.
Consider these factors when choosing a planter:
Drainage: The container must have drainage holes in the bottom. Bulbs that remain wet for extended periods are prone to rot. Using pot feet can aid drainage.
Depth: Choose a pot deep enough for the largest bulbs, their roots, and a layer of potting mix beneath them. A depth of at least 10–12 inches works well for many mixed bulb plantings, although deeper containers may be needed for larger bulbs and multiple layers.
Width: Wider containers allow you to plant more bulbs and create a fuller display. A planter 14–20 inches in diameter is a good starting point for a layered arrangement.
Material: Fiberglass, plastic, cast stone, fiberstone, and metal can all work well. Typical terracotta and ceramics are attractive but can crack when wet soil freezes and expands. Check whether the one you are considering is rated for outdoor winter use. In colder climates, avoid leaving valuable or fragile planters exposed to repeated freeze-thaw cycles.
Insulation: Larger containers generally offer more protection against temperature fluctuations than small pots. Planters can be lined with large-bubble bubble wrap on the inside, or wrapped in layers of burlap or frost blankets in colder climates.
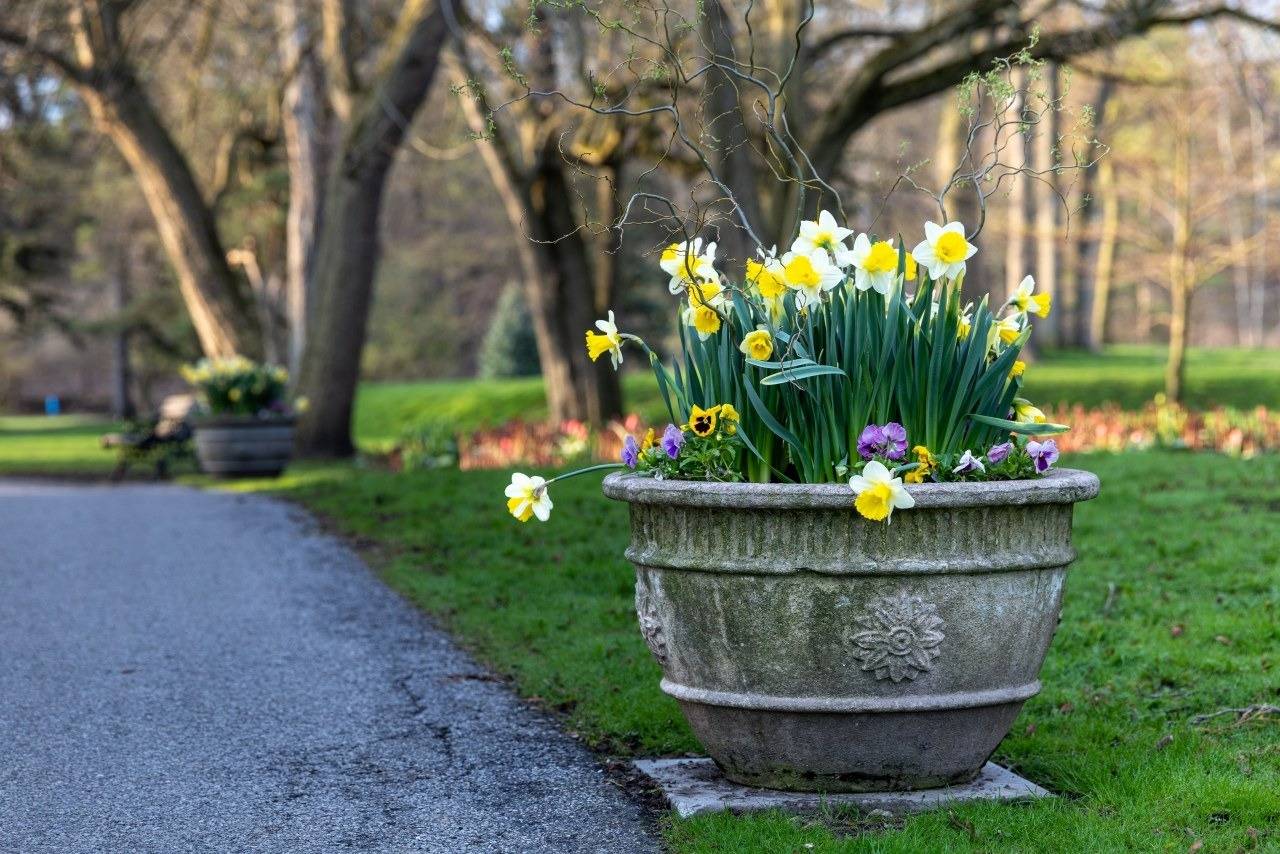
Style: Choose a planter that complements the style of your home and garden. Classic urns and pedestal planters create a formal look, while simple cylinders and bowls suit contemporary spaces. Several smaller pots can be grouped together for a relaxed, cottage-garden effect.
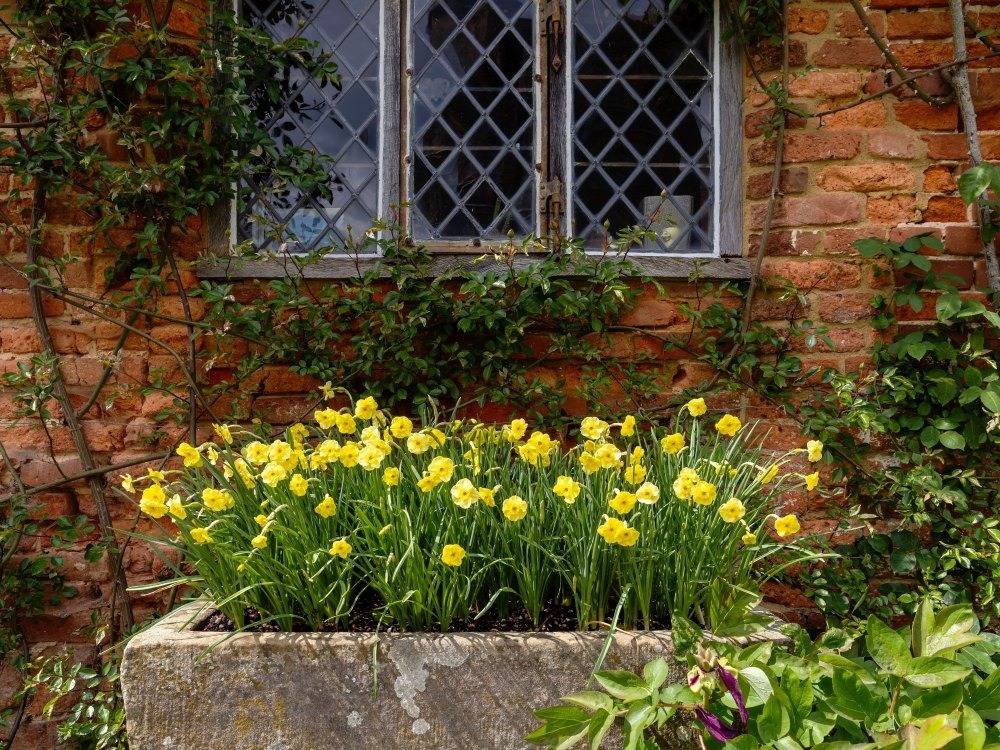
Below: 'Sun Disc' daffodils shine brightly in this stone trough.
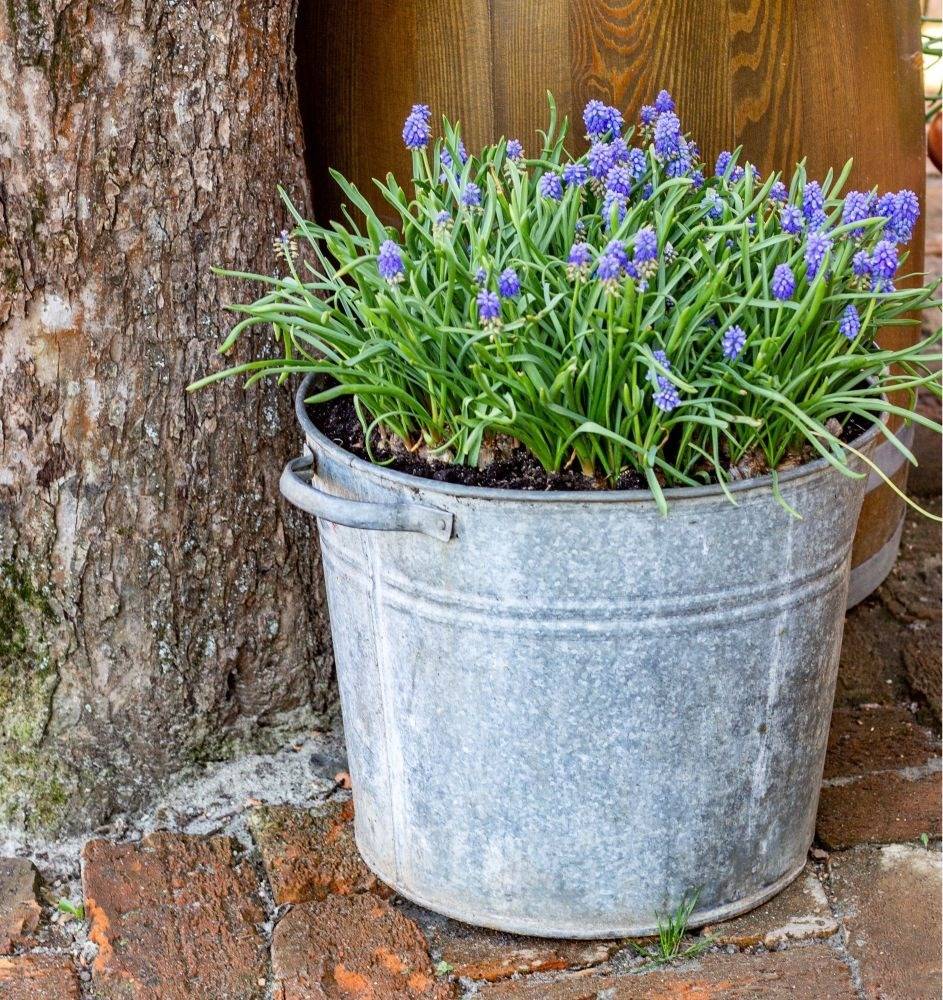
Below: Blue muscari and a repurposed galvanized bucket make a charmingly rustic display. If you try this, be sure to add a drainage hole!!
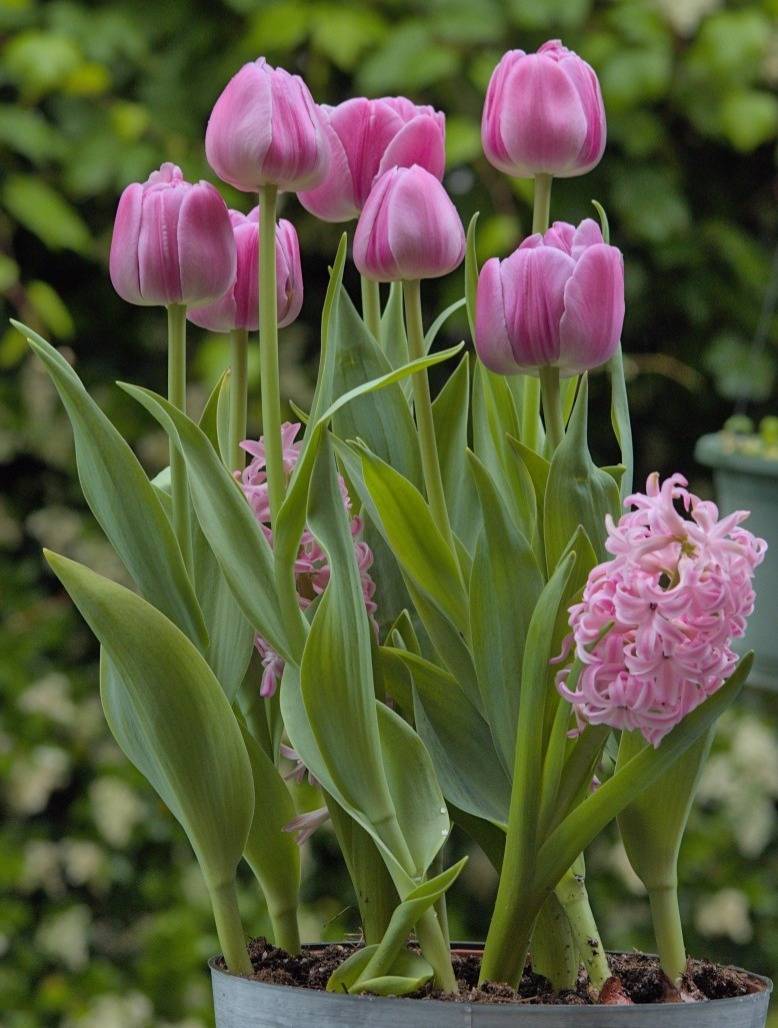
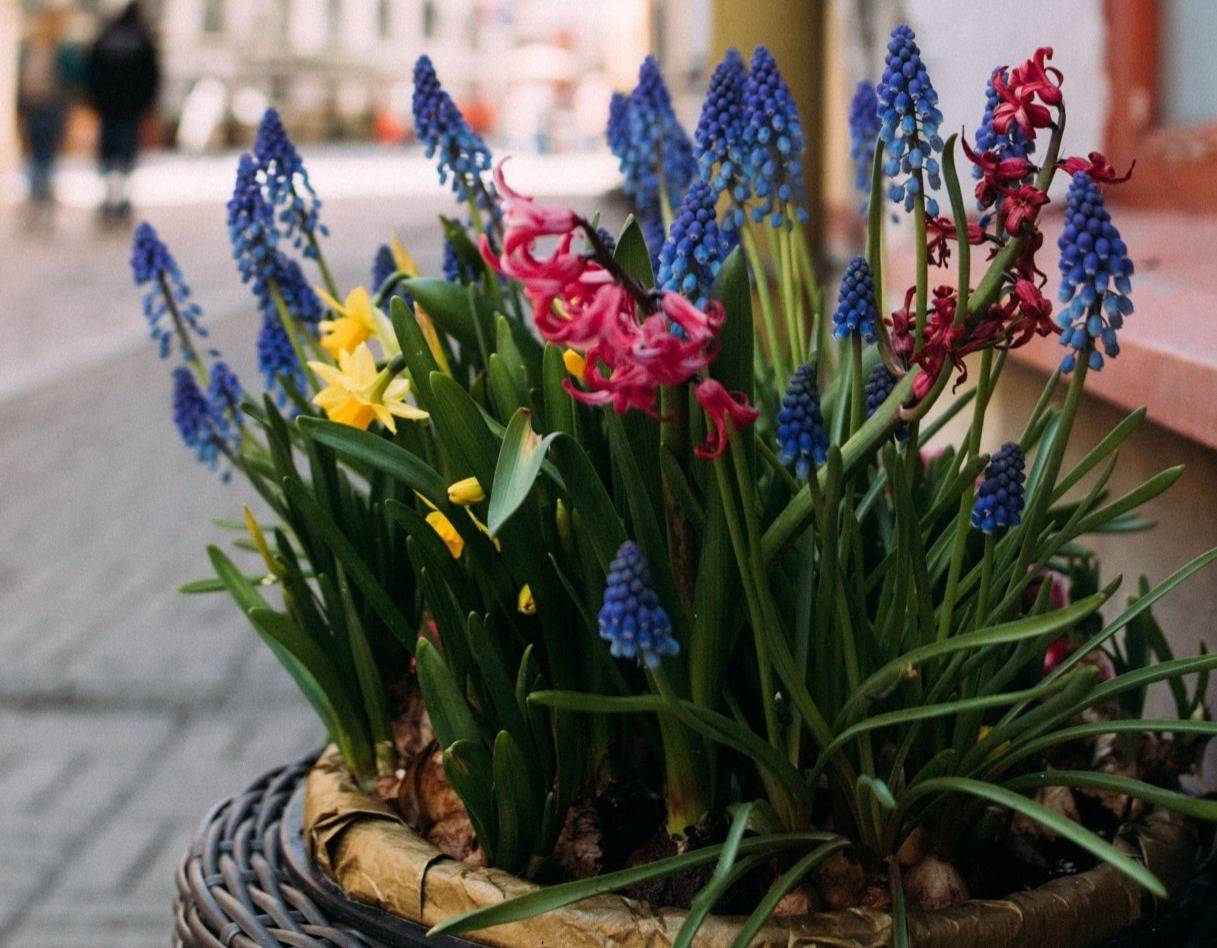
Below: You can choose bulbs that bloom at different times to extend the display, or choose those that bloom together for maximum flower power.
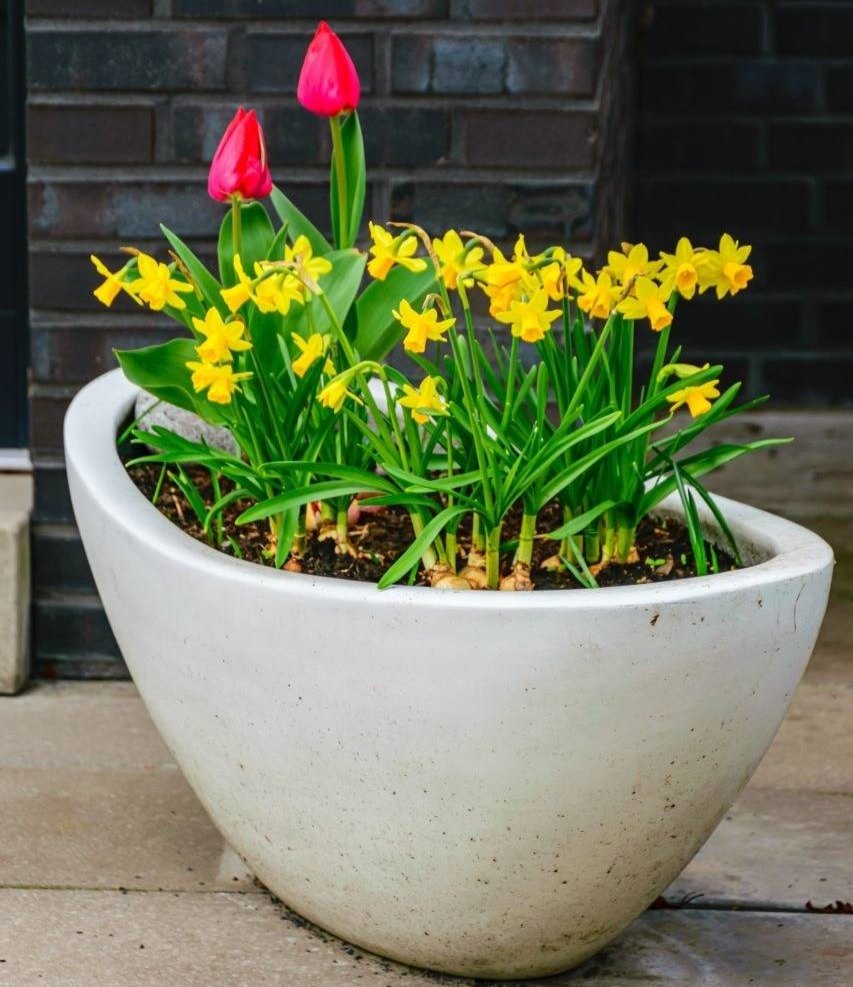
Below: Try an early blooming red tulip like 'Red Revival' with mini daffodil 'Tête-à-tête' for a vibrant look that will enliven any gray spring days. Ceramic containers may crack in freezing temperatures, so be sure to protect if necessary.
How to Plant Spring-Blooming Bulbs in Containers
Step 1: Prepare the container
Step 1: Prepare the container
Make sure the drainage holes are clear. If necessary, cover large holes with mesh to keep potting mix from washing out, but do not block drainage.
Fill the bottom with fresh, well-draining container potting mix. Do not use heavy garden soil, which can compact in a pot and retain too much water.
There is no need to add a layer of gravel or stones to the bottom; use potting mix throughout the container.
- Step 2: Arrange the bulbs
For a simple planting, position bulbs at the depth recommended on their packaging--generally 2 to three times the height of the bulb. Bulbs planted too deeply may develop pale, weak stems and/or not bloom at all. Planting bulbs too shallowly allows animals easy access, risks damage from both freezing temperatures and heat spells, and may cause energy to be spent growing offsets at the base rather than flowering.
For a fuller display, bulbs can be planted closer together in containers than they would be in the garden, provided they are not touching.
Place each bulb with its pointed growing tip facing upward and its roots or basal plate facing down. If a bulb's orientation is unclear, plant it on its side rather than forcing it into an uncertain position.
For a natural look, arrange bulbs in informal groups rather than perfectly straight rows or concentric circles. If planting tulips along the edge of a container, orient their flatter sides toward the outside so the foliage frames the planter.
If mixing bulbs that will bloom at the same time, plant shorter bulbs toward the front or at the edges with taller bulbs in the back or center.
- Step 3: Cover with Potting Mix
Add enough potting mix to cover the bulbs at the appropriate depth. Add a thin layer of mulch or decorative gravel to insulate and suppress weeds. If a thicker layer of mulch is desired, consider this part of the soil depth and plant accordingly--don't plant at the recommeded depth and then add a 2 inch layer of mulch.
Leave about an inch of space between the mulch surface and the rim of the pot so there is room for watering.
If you're layering different types of bulbs, add another layer of potting mix between each group, as described below.
- Step 4: Water Thoroughly
Water the container after planting to settle the potting mix around the bulbs and encourage root development. Allow excess water to drain freely.
During fall and winter, check the container periodically. The soil should remain slightly moist, not waterlogged or bone-dry. Rainfall may provide enough moisture, but sheltered pots can dry out even during cool weather.
Step 5: Protect the bulbs through winter
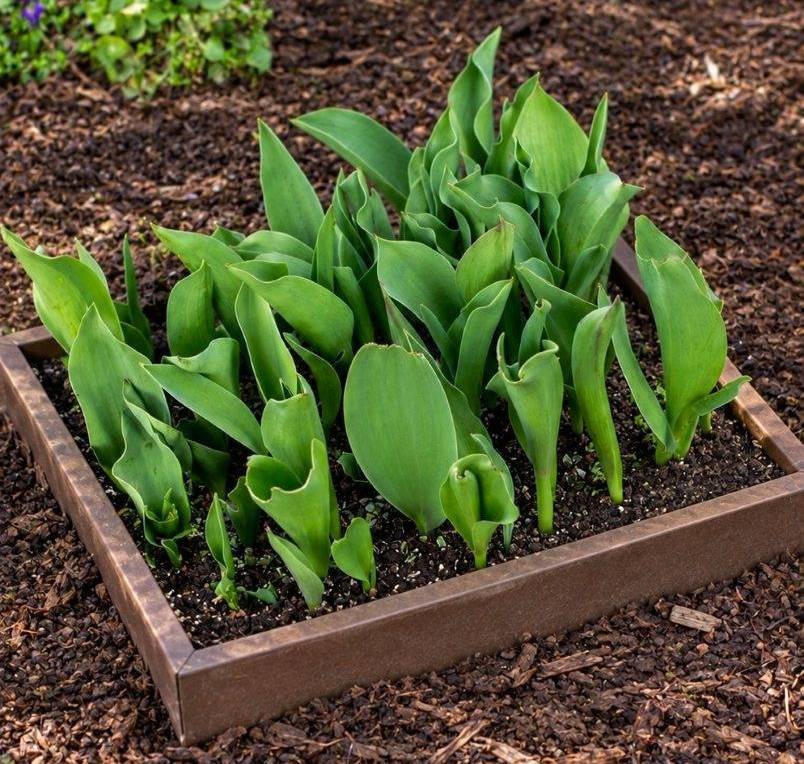
Most traditional spring-blooming bulbs need a sustained cold period to flower well. In climates with cold winters, containers left above ground are more vulnerable to freezing than bulbs planted directly in the ground.
In Zones 3–5, consider sinking the pot into the ground up to its rim, placing it in a protected cold frame, or moving it to an unheated but suitably cold space. Grouping pots together and insulating their sides with mulch or leaves can also help.
In Zones 6–7, a sheltered outdoor location may be sufficient for larger, hardy containers, but severe cold snaps may still require protection. A frost blanket can come in handy on such occasions.
In warmer climates, choose bulbs suited to mild winters or provide the recommended chilling period in a suitable refrigerator or cold-storage space. Keep chilling bulbs away from ripening fruit, which releases ethylene gas that can interfere with flower development.
Important: Winter protection should keep bulbs cold enough to receive the chilling they need while reducing extreme temperature swings. Do not keep dormant bulbs in a heated room, and do not allow their potting mix to become soggy.
Layering Bulbs in Containers
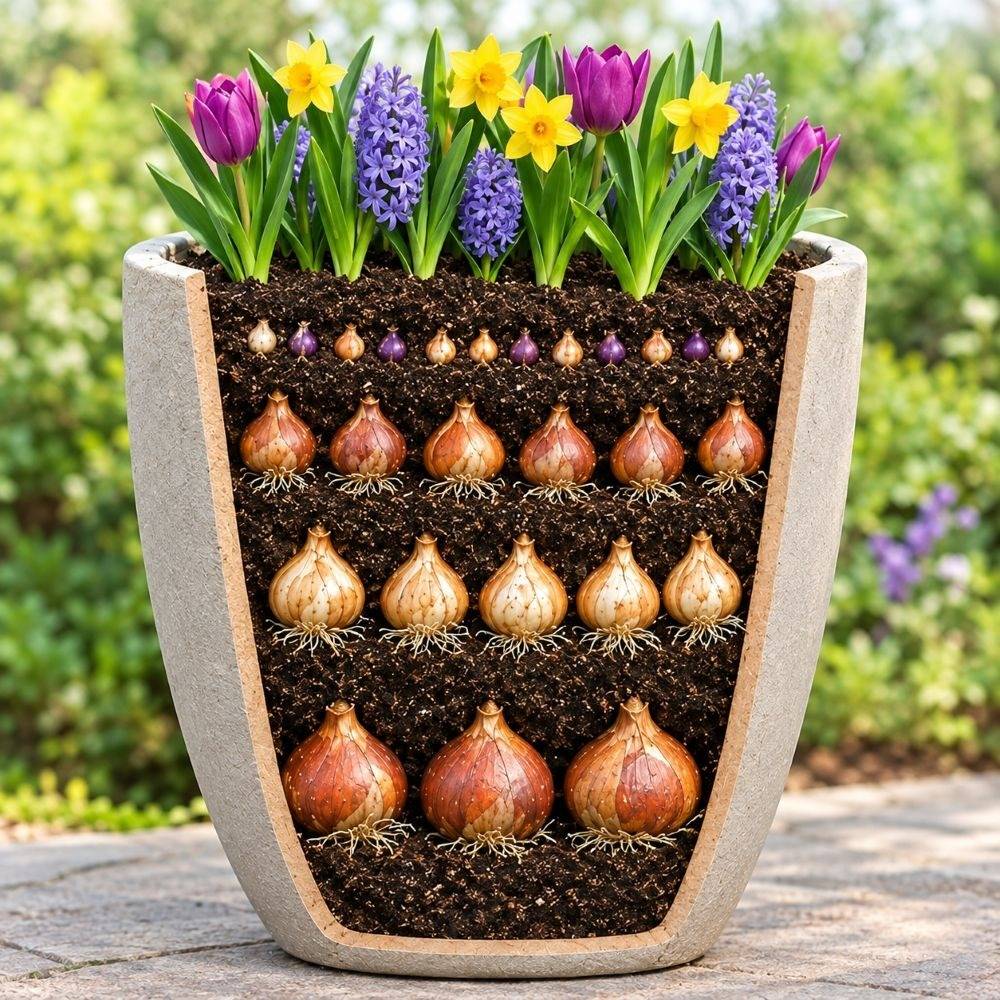
Layering bulbs, sometimes called bulb lasagna planting, is an excellent way to create a changing display in one container. By planting bulbs at different depths and selecting varieties that flower at different times, you can enjoy a succession of blooms from late winter through spring.
The basic principle is simple: plant the largest bulbs deepest, medium-sized bulbs above them, and small bulbs near the surface. Leave enough potting mix between layers to cover the bulbs properly, and be sure each type of bulbs is planted close to the depth recommended on the package.
If you want to stagger the blooms even more, you can plant bulbs a little deeper than recommended to delay their emergence, but never more than 1 to 2 inches deeper as they will waste their energy trying to reach the surface.
Conversely, if you have bulbs that would usually bloom at different times you can adjust the planting levels to encourage the flowering periods to overlap if that is the look you are after. Choosing varieties that bloom at the same time makes it much easier to achieve such a look, but experimentation is part of the fun of gardening. Nature will always have her way, after all!
The Three-Layer Method
Bottom layer: Large, later-blooming bulbs
Start with large bulbs such as tulips and daffodils. These generally need more depth than smaller bulbs. Select varieties with mid- to late-spring bloom times if you want the display to continue after the earliest flowers fade.
Middle layer: Medium-sized bulbs; Intermediate planting depth
Add hyacinths, smaller daffodils, or other bulbs appropriate for the depth available. Hyacinths bring fragrance and strong color, while smaller daffodils offer a cheerful transition between early and later bloomers.
Top layer: Small, early-blooming bulbs; Shallowest planting layer
Finish with crocuses, dwarf iris, or other small bulbs that can be planted relatively close to the surface. These often provide the first flowers of the season, while the larger bulbs below continue developing.
How to Layer Bulbs Step by Step
- Fill the container with enough potting mix to accommodate the deepest bulbs, including at least a 3 inch layer of soil beneath them.
- Arrange the largest bulbs with their tips facing upward. Keep them close together, but do not allow them to touch.
- Cover the bulbs with enough potting mix to reach the recommended depth for the next layer.
- Arrange the medium-sized bulbs, offsetting their positions so they are not directly above the larger bulbs whenever possible.
- Add more potting mix, then arrange the smallest bulbs near the surface.
- Cover the top layer, water thoroughly, and label the container with the bulb varieties and planting date.
Follow the planting-depth instructions for each bulb variety, adjusting for the container's dimensions. In a shallow pot, two layers may be more practical than three. Avoid overcrowding the bulbs so much that there is little room for roots or drainage.
Keep in mind that bloom succession is not guaranteed simply by planting bulbs at different depths. Variety selection, winter temperatures, sunlight, and spring weather all influence flowering time. Choosing early-, mid-, and late-season cultivars is just as important as layering them if your aim is the longest lasting display.
Suggested Spring Bulb Combinations for Containers
The best bulb combinations consider more than color. Think about flowering time, mature height, flower shape, fragrance, and how the foliage will look as flowers fade.
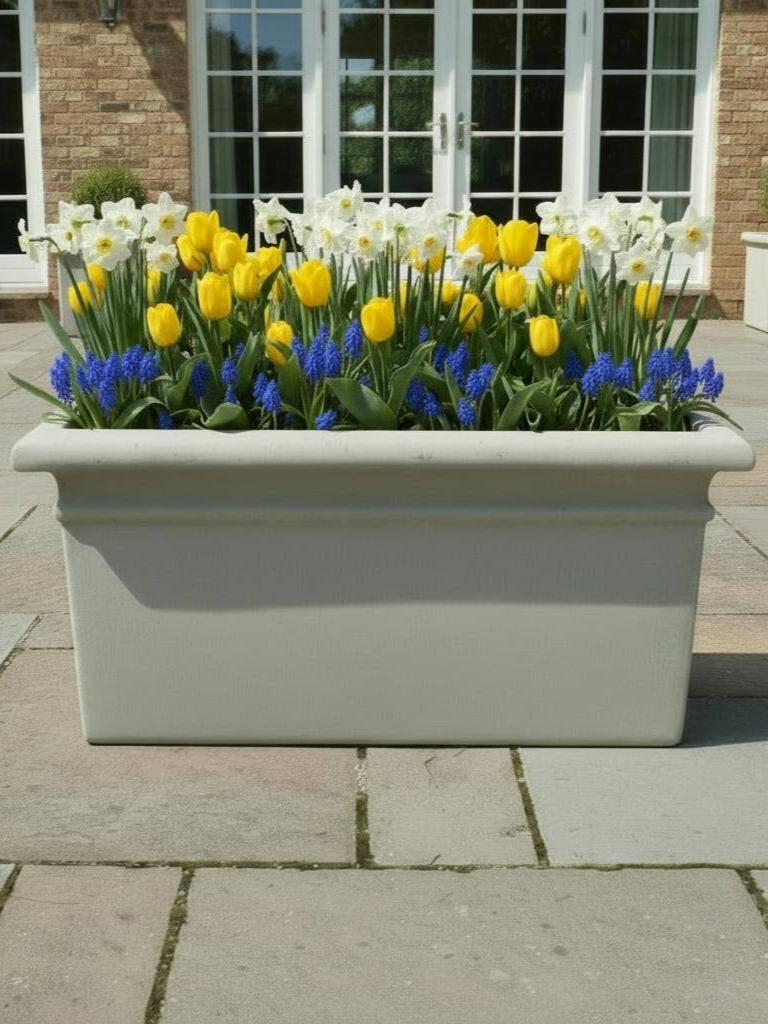
Spring Cheer: Purple or white crocuses + yellow or white dwarf daffodils + blue grape hyacinths
A lively combination for a low bowl or wide planter near a doorway. Crocuses often flower first, followed by daffodils and grape hyacinths. Choose compact varieties to keep the display balanced.
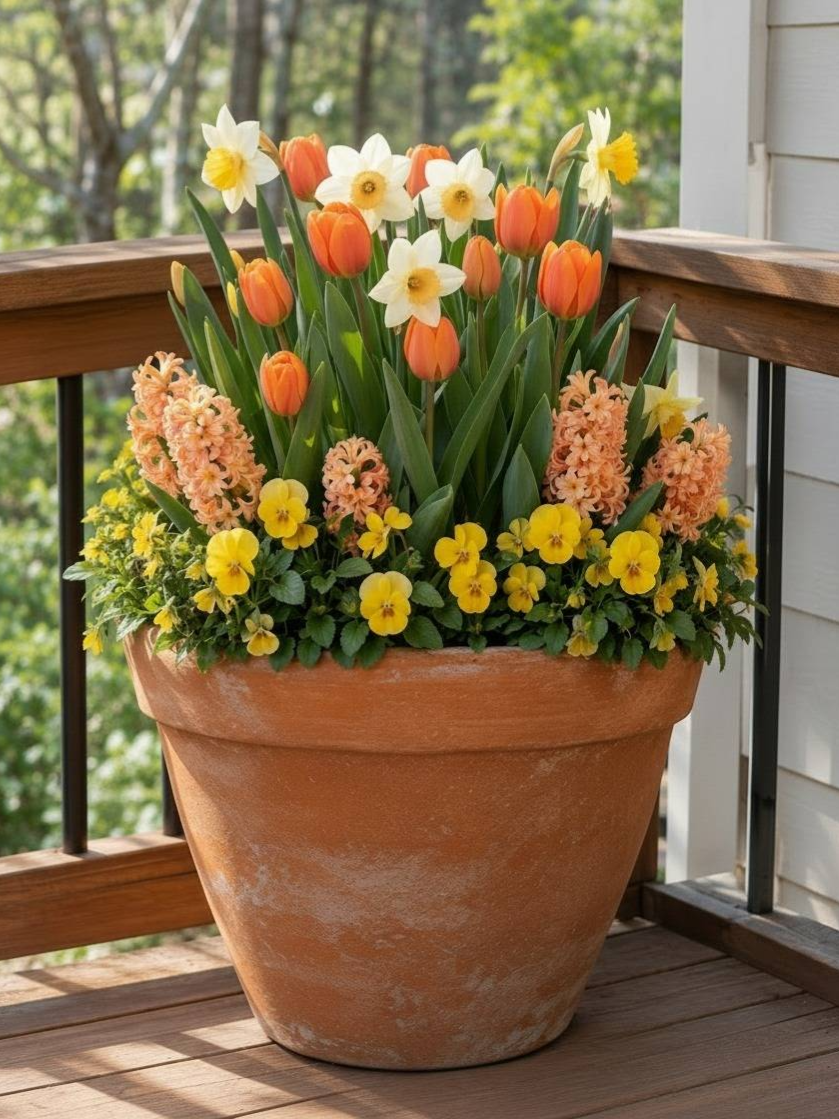
Spring Sunrise: Orange tulips + peach daffodils + peach hyacinths + yellow pansies or violas
The warm tones will glow in a western exposure, and the monochromatic color scheme lends designer vibes, especially with a color-matched container.
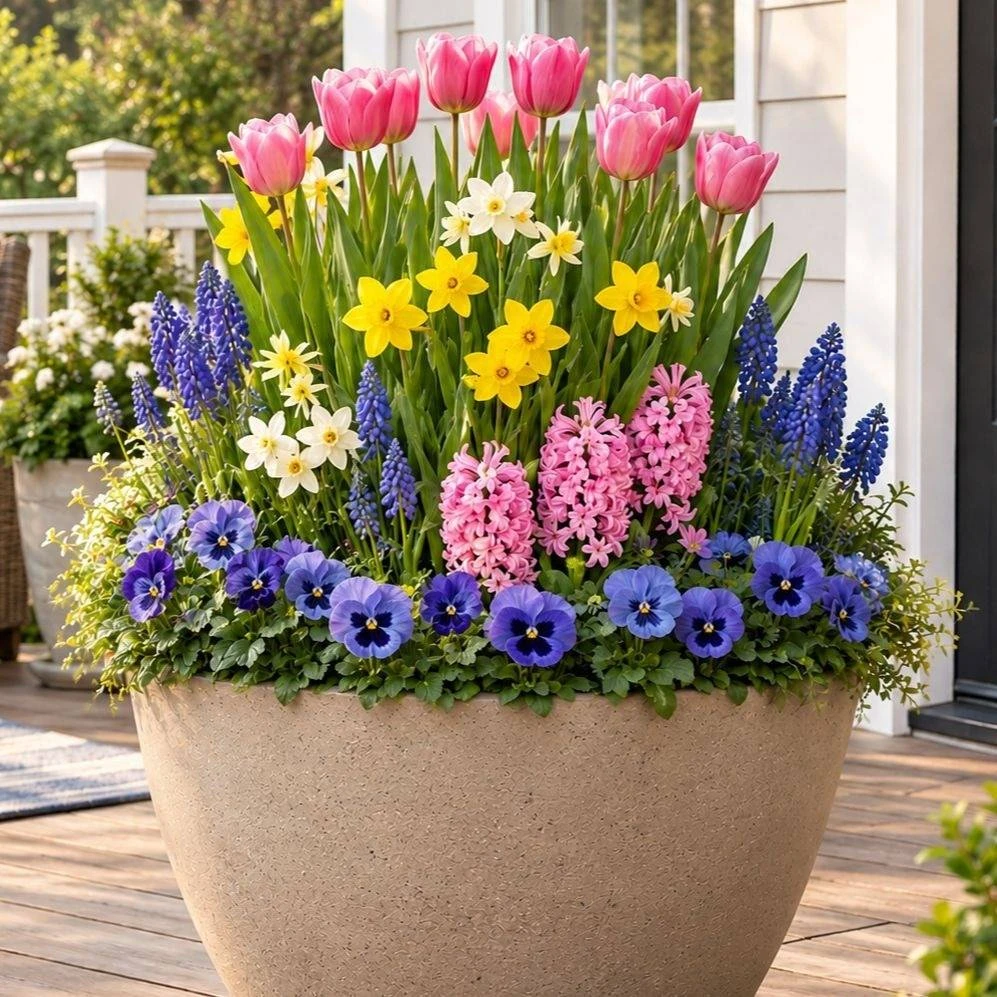
Spring Romance: Soft pink tulips + white daffodils + lavender or pale pink hyacinths
Ideal for a traditional entryway, patio, or seating area. The tall tulips provide height, daffodils add a bright white accent, and hyacinths contribute fragrance and dense flower spikes.
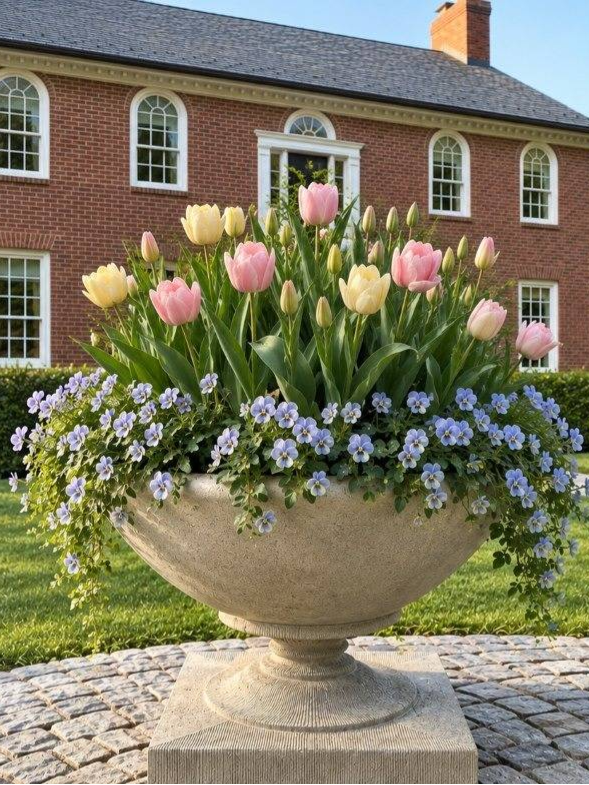
Easter Basket: Pink and yellow tulips + light blue hyacinths + primrose yellow or pale blue pansies
These cool, serene shades will be most luminous with an eastern exposure. Adding a few tall cut curly willow stems can add grace and height. Perfect place to hide your eggs for the hunt!
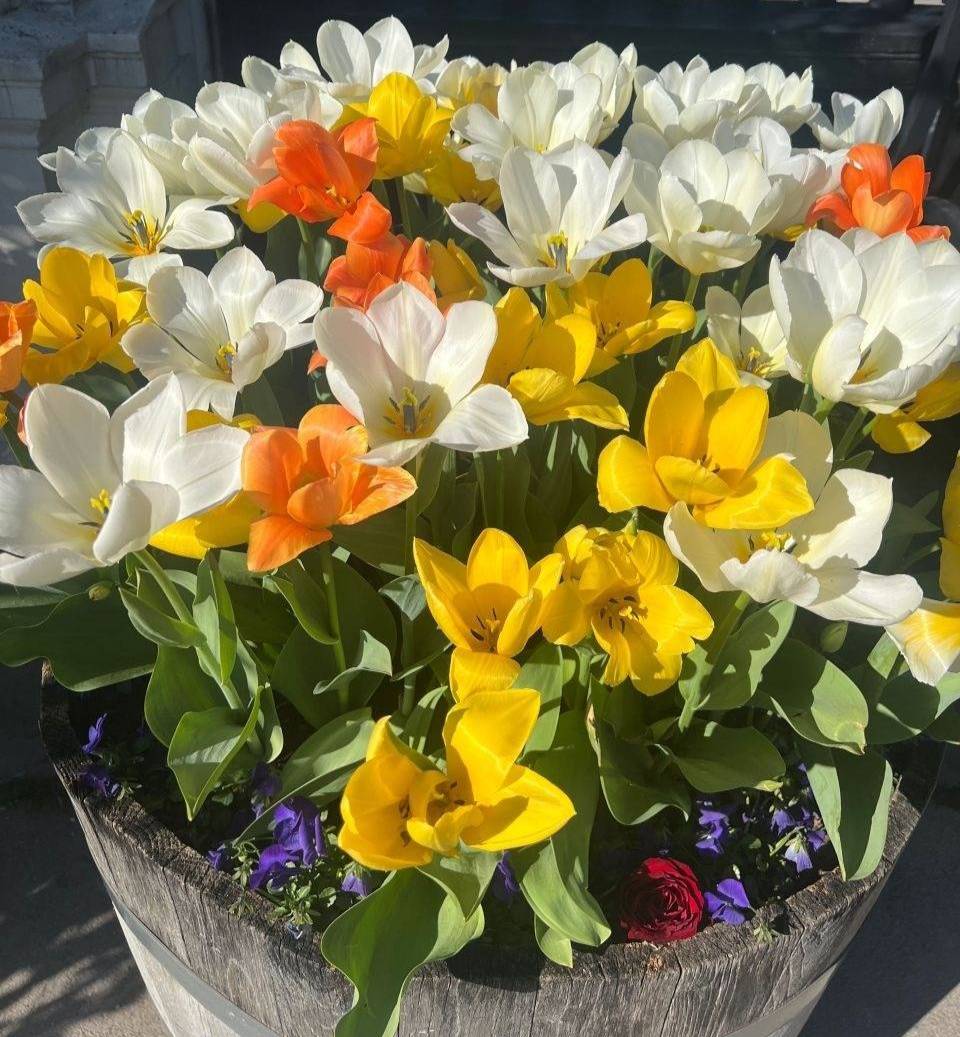
Primarily Spring: Red or orange tulips + golden yellow daffodils + blue grape hyacinths
This energetic combination of primary colors stands out against brick, stone, or dark-painted entryways. Use a simple planter to let the strong colors take center stage.
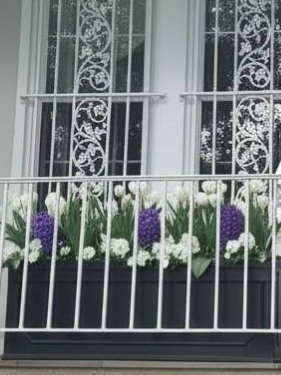
Spring Drama: White tulips + deep purple hyacinths + white muscari, violas, or alyssum
Simple, elegant, high impact design echoes the clean lines of geometric planters and contemporary facades. For even more drama, choose near-black tulips, white hyacinths, and black pansies.
Spring Elegance: White tulips + cream or pale yellow daffodils + blue dwarf iris
This restrained palette works especially well in contemporary spaces and formal gardens. Blue dwarf iris adds early color and an interesting flower shape, while the white and cream flowers create a calm, cohesive display.
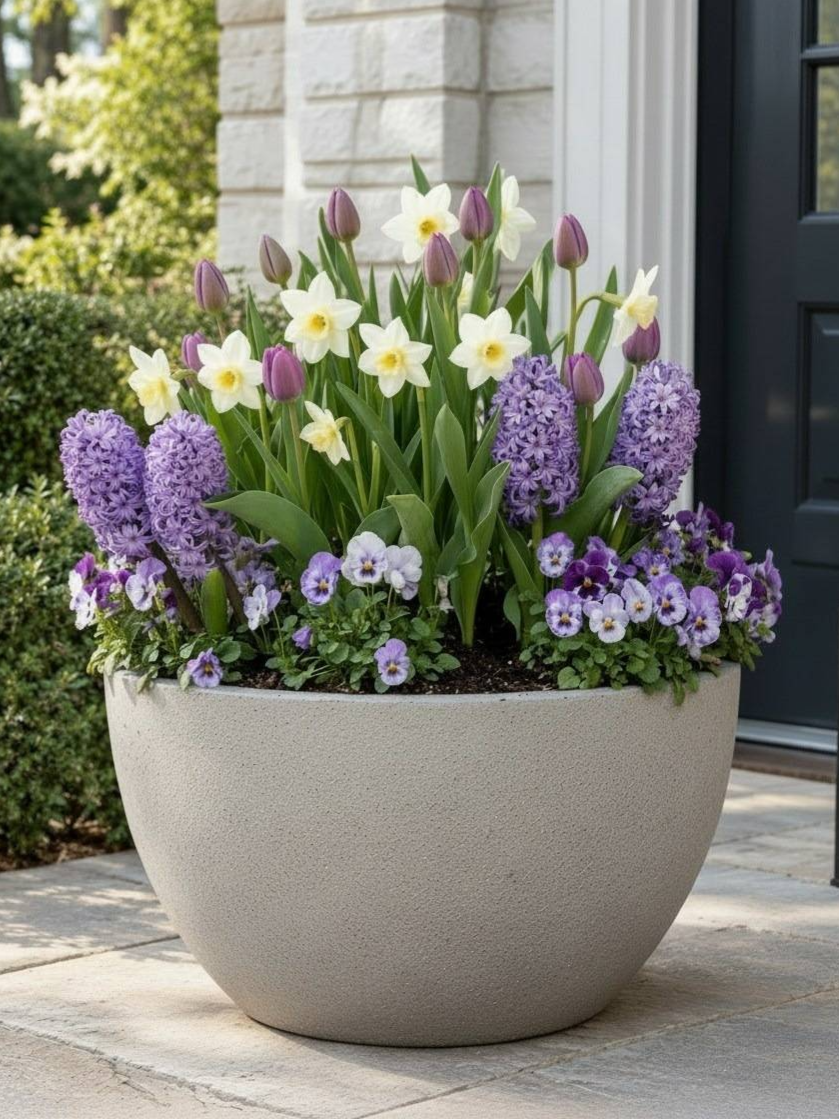
Spring at the Cottage: Purple tulips + pale yellow daffodils + lavender hyacinths + purple, primrose yellow, or lavender violas or pansies
Plant pansies or violas around the edge of the container for color before and after the bulbs bloom. Their low, spreading habit softens the rim of the planter without competing with taller flowers. If more height is desired, use cut pussy willow stems as a springy thriller. Their silvery catkins will enhance the color scheme, especially with a matching gray-toned planter.
- Spring Cheer: A mix of yellow, blue, and white creates a fresh, springy ambience.
- Spring Sunrise: Using shades of one main color lends a designer appeal.
- Easter Basket: Soft, sweet pastels are a classic spring combination.
- Spring Drama: Intense contrast creates an eyecatching yet restrained planting..
- Spring at the Cottage: Shades of purple and soft yellow combine for relaxed, informal charm.
Complementing Bulbs with Other Spring-Blooming Plants
Pansies and Violas
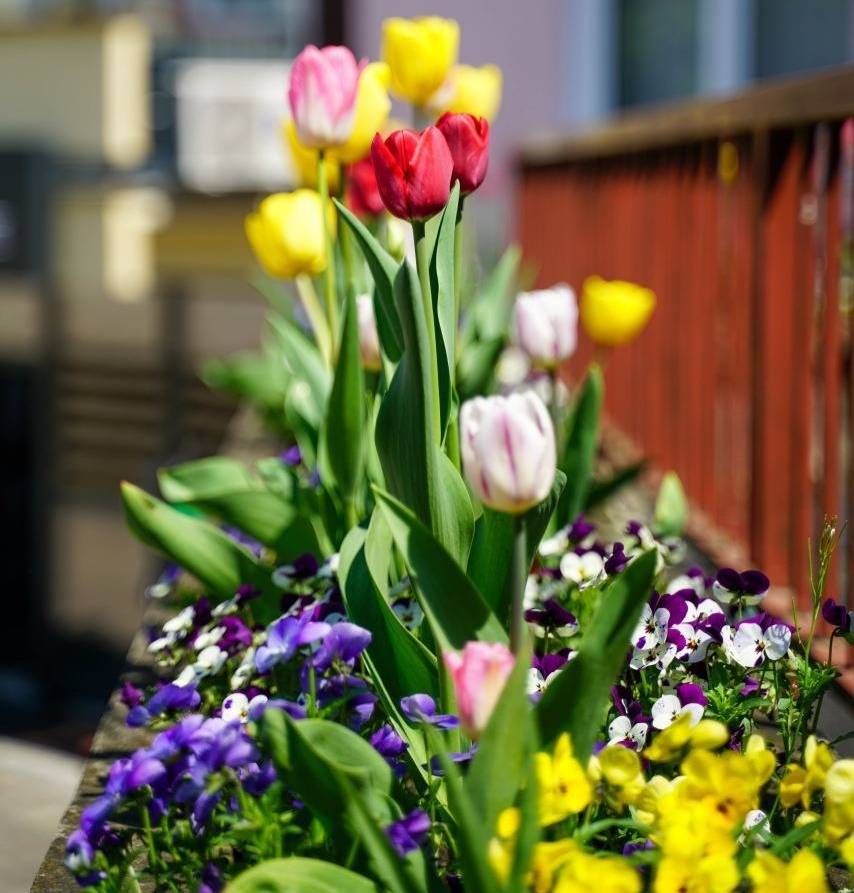
Pansies and violas are among the most versatile companions for spring bulbs. They tolerate cool weather, offer a wide range of colors, and provide flowers before many bulbs open and after some bulb flowers fade. The come in almost every color of the rainbow, with or without their famous "face."
Pansies tend to have fewer and larger flowers than violas, which means less deadheading. Violas have smaller flowers, but they make up for it in sheer numbers. They lend a delicate, airy texture, quite valuable when mixed with coarser bulb foliage and large flowers such as tulips and trumpet daffodils.
In many climates these can be planted in the fall, reblooming vigorously in spring. They will ofetn sport a few flowers during warm spells in winter as well.
English Daisies
English daisies (Bellis perennis) are short-lived perennials with cheerful, pom-pom shaped flowers in white, pink, and red shades that may act as an annual or biennial depending on your zone. In zones 4-8 they can overwinter but may not tolerate summer heat.Their low growth makes them suitable for the front of a container, especially alongside dwarf daffodils, tulips, or grape hyacinths. They prefer part sun and moist soil, but will usually tolerate full sun in spring when light levels are lower and temperatures are cool. If they find themselves happy in a particular location they do have the potential to seed and become weedy.
Dianthus
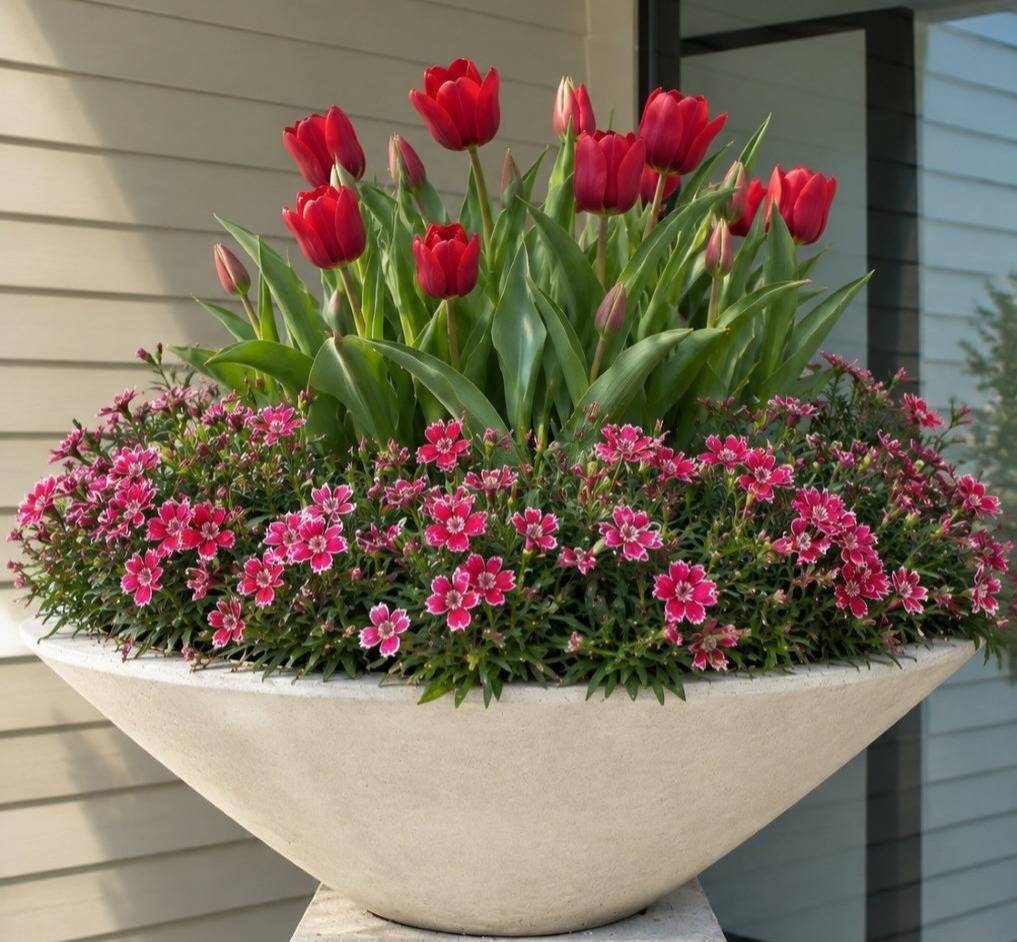
Compact dianthus varieties offer fringed flowers in pink, red, purple and white, often with a spicy fragrance. They work particularly well with white tulips, purple crocuses, and pink or lavender hyacinths. The types commonly sold as annuals often act as short-lived perennials, and bear deep green foliage, unlike the silvery-blue leaves of most perennial dianthus. Look for varieties in series such as Telstar, Super Parfait, Corona, Coronet, Diamond, and Diana.
Forget-me-Nots
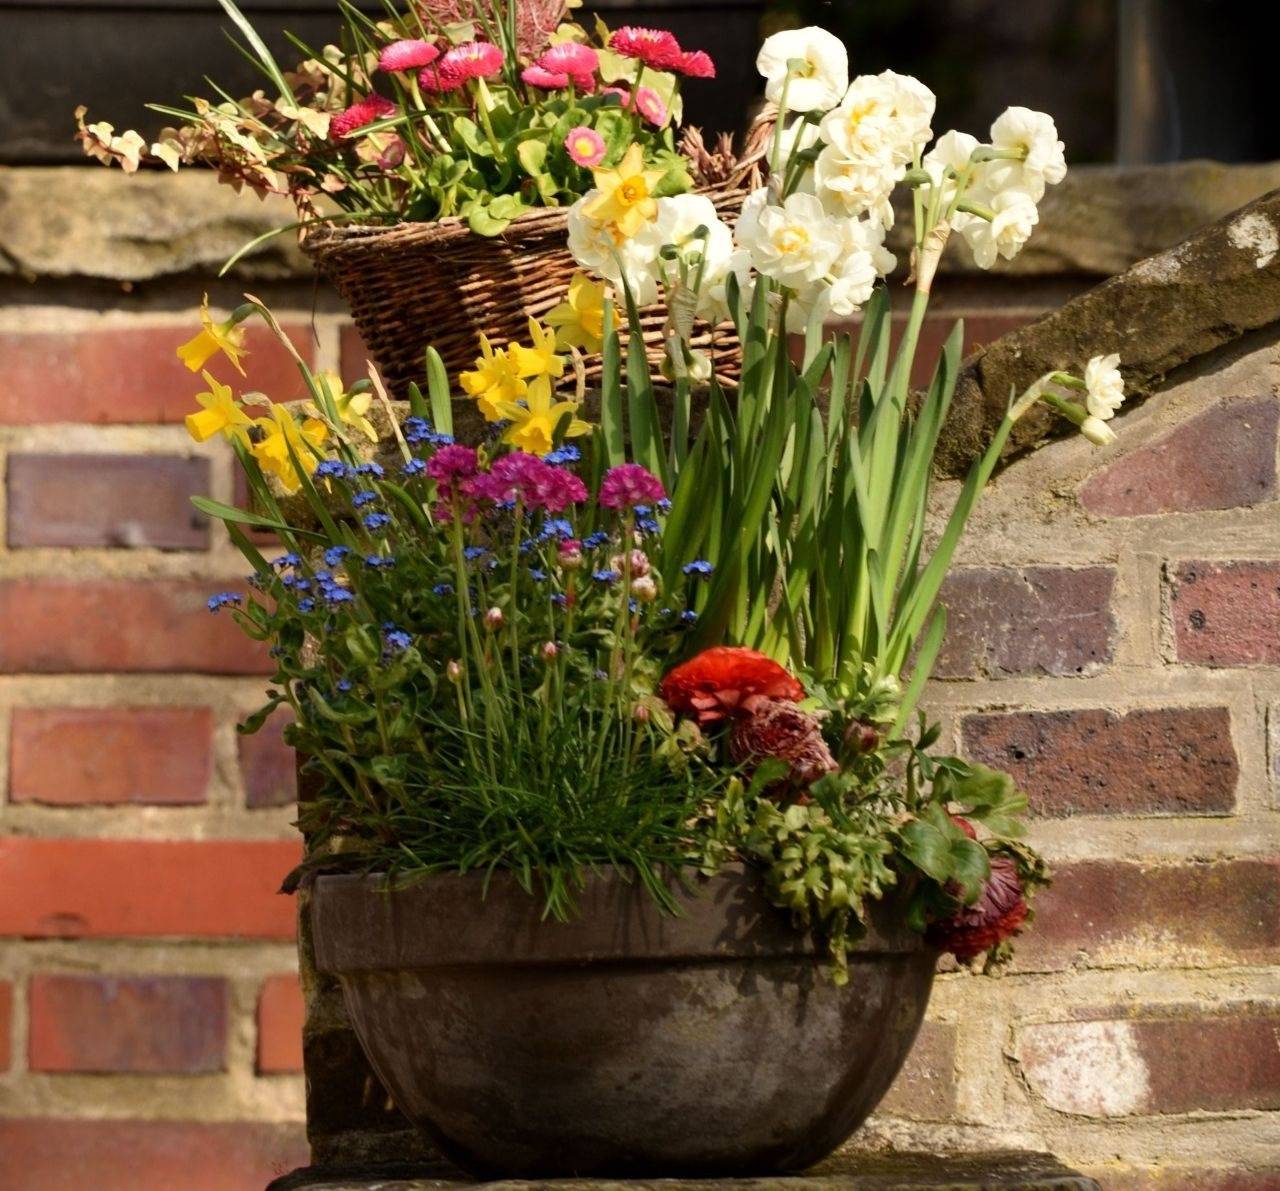
Forget-me-nots (Myosotis species) provide delicate blue flowers that complement pink, white, and yellow bulbs. Their airy growth creates a softer, more natural effect that constrasts well with the bold flowers of tulips and daffodils. Choose a species or cultivar appropriate for your region, since some forget-me-nots self-seed readily and may become invasive. Keep them in containers if you want to limit spreading.
Compact Perennials
Spring-blooming evergreen to semi-evergreen groundcovers can provide both color and a lightly trailing element when planted at the edge of a container. Try candytuft (Iberis sempervirens) with white flowers, sea thrift (Armeria maritima) in red, white, or pink, or Veronica 'Georgia Blue' with small starry vibrant blue blooms. For showy spring flowers, English primrose and hardy cyclamen (C. coum) can be planted in fall in zones 4-8 and 5-9, respectively. Compact heucheras, creeping thyme, and other low-growing perennials can also add foliage contrast, although their suitability depends on the container's exposure and the local climate.
Depending on your climate, the size of your container and the look you want to establish, you can also add plants that will add interest to the container for the remainder of the season, and help hide the bulb foliage as it ages. Try hosta, dicentra, catmint, or daylily if you don't want a "bare" container for the rest of the season and don't want to replant the entire pot with annuals. Just remember to choose something that won't require such frequent watering that it will rot the bulbs, and be sure the drainage remains adequate.
How to combine bulbs and companion plants successfully
- Plant for height: Position taller tulips and daffodils toward the center or back of a container, with pansies, violas, and other low plants around the edges.
- Consider water needs: Bulbs need good drainage, particularly while dormant. Avoid companions that require consistently wet soil.
- Allow for foliage: Bulb leaves need sunlight after flowering to replenish energy for future growth. Do not let companion plants smother the foliage.
Avoid overcrowding: Leave enough room for roots and foliage to develop -- don't plant companions too densely. Bulb shoots will usually find their way up and around small root systems of other plants, but may not be able to penetrate a large, solid mass of roots above them. If the container becomes crowded, move some companion plants into separate pots.
If you plant annuals and bulbs together, keep in mind that annuals may need more frequent watering during warm weather. Water carefully so the bulbs are not left sitting in saturated soil.
Caring for Spring Bulbs as They Grow
- Once temperatures rise and shoots appear, move containers into a bright location with the amount of sun appropriate for the varieties planted. Most tulips, daffodils, crocuses, and hyacinths flower best with ample light.
- Water when the potting mix begins to dry, checking more frequently as leaves and flower buds develop. Containers can dry out surprisingly quickly on sunny patios, especially on windy days.
- A few additional practices will help the display last:
Rotate the container: Turn the pot occasionally if plants lean toward the light.
Remove spent flowers: Snip off faded blooms, particularly on tulips and daffodils, so the plants do not spend energy producing seeds.
Leave the foliage: Allow the leaves to yellow and die back naturally. They supply energy for the bulbs' next growing cycle.
Avoid premature trimming: Do not braid or tie the leaves, and do not cut them while they are still green.
Fertilize thoughtfully: If you plan to keep the bulbs for future years, use a bulb fertilizer according to its label. Avoid excessive nitrogen, which can encourage leafy growth at the expense of flowers.
What to Do with Bulbs After Flowering
Once the flowers fade, you have several options. Your choice depends on the bulb type, your climate, and whether you want to reuse the container for summer planting.
Option 1: Leave the bulbs in the container. If the bulbs are hardy in your region and the pot provides suitable drainage and winter protection, you may leave them in place. Allow the foliage to die back naturally, reduce watering as the bulbs become dormant, and keep the soil from remaining wet.
Option 2: Replant the bulbs in the garden. After the foliage yellows, lift the bulbs carefully and plant them in a suitable garden location if they are hardy there. Some bulbs, particularly many hybrid tulips, may flower less reliably in subsequent years.
Option 3: Replace the display seasonally. If you want to use the planter for summer annuals, you can remove the bulbs once their foliage has died back and store healthy, suitable bulbs in a cool, dry, well-ventilated place until fall. Not all bulbs store equally well, so follow the recommendations for the specific variety.
Bulbs that have been forced to bloom indoors may not perform well if replanted, while many outdoor-grown daffodils and smaller perennializing bulbs can return for several years under favorable conditions.
Troubleshooting Common Problems
- Bulbs produce leaves but no flowers
Insufficient winter chilling, immature bulbs, or poor growing conditions. Choose healthy, flowering-size bulbs and provide the recommended chilling period.
- Bulbs rot
Poor drainage or excessive watering. Use fresh, free-draining potting mix and ensure drainage holes remain open.
- Flower stems are short
Variety characteristics, inadequate chilling, or limited growth conditions. Choose suitable cultivars and follow the recommended planting and chilling requirements.
- Container freezes solid
The pot is too exposed or too small. Use a larger container and provide winter insulation or sheltered cold storage.
Flowers fade quickly
Warm spring weather, insufficient water, or natural bloom duration. Choose varieties with staggered flowering times and keep the mix evenly moist.
- Bulbs fail to return or bloom the following year
(1) The variety is not reliably perennial. Many tulips, especially late-blooming varieties do not rebloom well or at all. Look to species tulips, Darwin hybrids, and Emperor (Fosteriana), and Greigii types.
(2) Sunlight is inadequate. Bulbs may bloom the first spring regardless of light levels, but inadequate light will not provide enough energy for the bulb to bloom in subsequent years. Keep the container in a sunny spot until leaves die back.
(3) Foliage was removed too early. Let leaves die back naturally and choose varieties suited to repeat flowering in your climate.
A Simple Spring Bulb Container Checklist
- Choose a container with drainage holes and adequate depth.
- Select bulbs suited to your climate and available winter chilling.
- Plan colors, heights, and early-, mid-, and late-season bloom times.
- Use fresh, well-draining potting mix.
- Plant bulbs at appropriate depths, layering larger bulbs beneath smaller ones.
- Add compatible spring annuals or perennials if desired.
- Water thoroughly after planting and check moisture periodically.
- Protect containers from extreme winter cold and freeze-thaw cycles.
- Move containers into suitable light as growth begins.
- Remove faded flowers but leave green foliage and provide adequate sunlight until it dies back naturally.
Plan Now for a Beautiful Spring Display
Spring-blooming bulbs are one of the easiest ways to add early season color to patios, porches, entryways, and small gardens. A single pot of tulips can make a striking statement, while a layered arrangement of daffodils, hyacinths, and crocuses can deliver several weeks of changing color. Add pansies, violas, or other cool-season flowers, and the container can look inviting even before the bulbs begin to bloom.
The secret is to start in fall, choose varieties suited to your climate, and give the bulbs the drainage, chilling, and winter protection they need. With a little planning, the containers you plant before winter can become some of the most rewarding features of your spring garden.
You may also like